Preserving Live Plants
Using Mosses and Lichens
First published on The Basement forum in 2006

Pickling plants
O.K. maybe this isn’t what you‘d have expected to find on here; because this is going to look a little like a cookery course. But it works, and it won’t just save you money, but also save you a lot of hard graft too.
Disclaimer.
First of all, the method here uses a cooking hob. That means that things are going to get warmed up to boiling point, and thus you have to take care in what you’re doing.
If you’re not an adult, then you should be getting an adult to help you.
If you are an adult, then take care with hot liquids and things that they have been in contact with, and most important of all the thing that heated them up.
So long as you do that, then none of us will get into too much trouble – O.K. you’re going to be in the kitchen for this too, so maybe permission from the boss of the household should be gained as well !

Why pickle plants ?
Well for a start, they have greater detail and look more natural than brass etch or any “artificial” plant that you’ll be able to purchase.
Once treated, they will fade in colour, but the plant should remain intact for several years.
Apart from one ingredient that you have to buy, and the cost of the electric or gas for the cooker, it’s free !
What you need.
First of all something to pickle; almost anything will do as far as green plants go, but obviously it has to be “in scale” to the models you make.
I gather various mosses and lichens, and the only plants that I haven’t had success with so far are miniature ferns. These latter seem to curl up when going through the heating process, and don’t seem to recover.
The other things you need are some liquid Glycerine, a couple of pans, a wooden spoon or a stick ( depends whether “she” is watching ) and a sieve.

What to do.
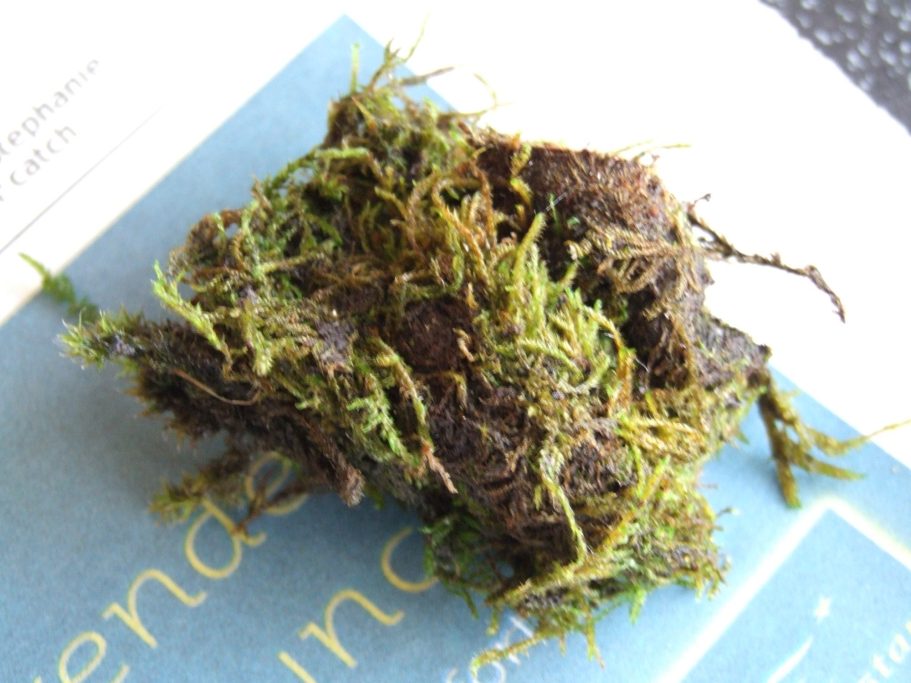
In photo #1 I’ve shown a close-up of some of the moss prior to treatment. The moss grows throughout the summer, and will vary in size depending upon the purity of the air in its surroundings.

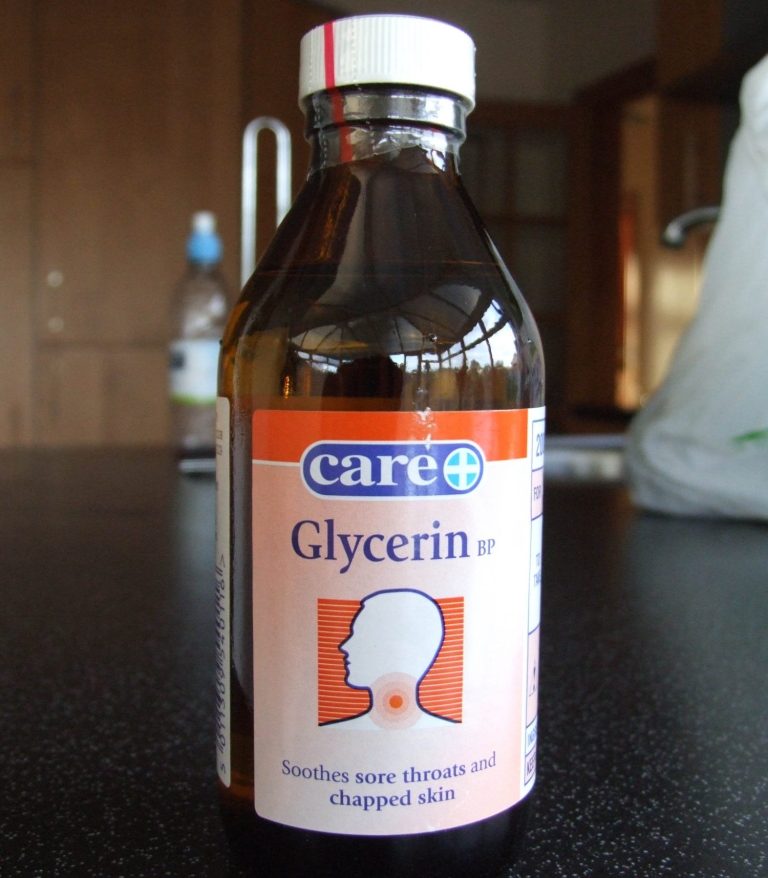
Photo #2 shows the bottle of Glycerine. I got this from Boots the chemists, and almost any large chemist or pharmacy will probably stock it, Either you can ask if they have any, or try looking in the throat / cough cures section.
Although the bottle I've shown here was bought a few years ago, and the last time I asked at our local chemist, I drew a blank.
However, if a chemist doesn't have it, then take a look in the "Home Baking and Cookery" section of a supermarket, and they usually have small bottles of it somewhere in amongst the colouring / flavouring section.

In photo #3 I’ve begun the process by pouring the Glycerine into an old pan and placing it on the gas hob. I’ve also added water to the Glycerine shown here, emptying out the Glycerine first, then refilling the bottle with water and emptying that into the pan. You need two bottles of water to one of the Glycerine.
So, heat the pan up until the mixture boils, stirring it regularly so that the contents mix.
Once the liquid comes to a boil, turn the heat down, so that it simmers, and carefully add the moss. You can add enough moss to the pan so that it is just covered by the Glycerine / water mix when it’s all pressed down with the spoon.
Now just leave this to simmer for a couple of minutes while you go open all the windows in the kitchen – because otherwise the place will smell like a pond, and she’ll kill you !

Once it’s simmered for two or three minutes, then you can pour everything through a sieve, and use the second pan to catch the liquid.
Switch the hob off !
O.K. time now to leave things alone for about half an hour.
Why – well to let them cool of course. Once the moss is cool enough to let you handle it safely ( your discretion is needed here ), then squeeze out the excess water into the second pan that’s already caught the run-off from the sieve – the resulting ball of moss is seen in photo #4.

And now smaller amounts of the moss that have been squeezed some more are shown in photo #5.
This liquid can be re-used, simply by adding half the original amount of Glycerine to strengthen the mix, as not all the Glycerine will have been absorbed into the moss. Either that or discard the liquid because maybe there was enough moss in the batch that you’ve just processed.

The squeezed out moss can now be teased apart and placed onto some old newspaper for it to dry – see photo #6. This will take a couple of days in a warm room, just keep turning it over every few hours or so to allow it to air properly.

As I mentioned, the moss does fade to a certain degree, especially over the first couple of months. So once it’s fully dried, it’s probably best to store it and allow this fading of colour to take it’s course. Some moss that has gone through this process can be seen in photo #7.
The moss can be used after this period though, by either gluing it directly to groundwork and either leaving it in it’s brown form – for winter settings - or by colouring it with paints ( I suggest either staining with thinned oil paint, or using acrylics or enamels through an airbrush ).

Alternatively a simple tree can be made by using a small twig or root ( the more gnarled and twisted the better ) as shown in photo #8, and by using superglue, small sprigs of the moss can be fastened in place at various junctures on the twig – see photo #9.
There will be white marks left by the drying superglue, but these can be masked easily when the “tree trunk” is painted with a thin wash of Burnt Umber oil paint.
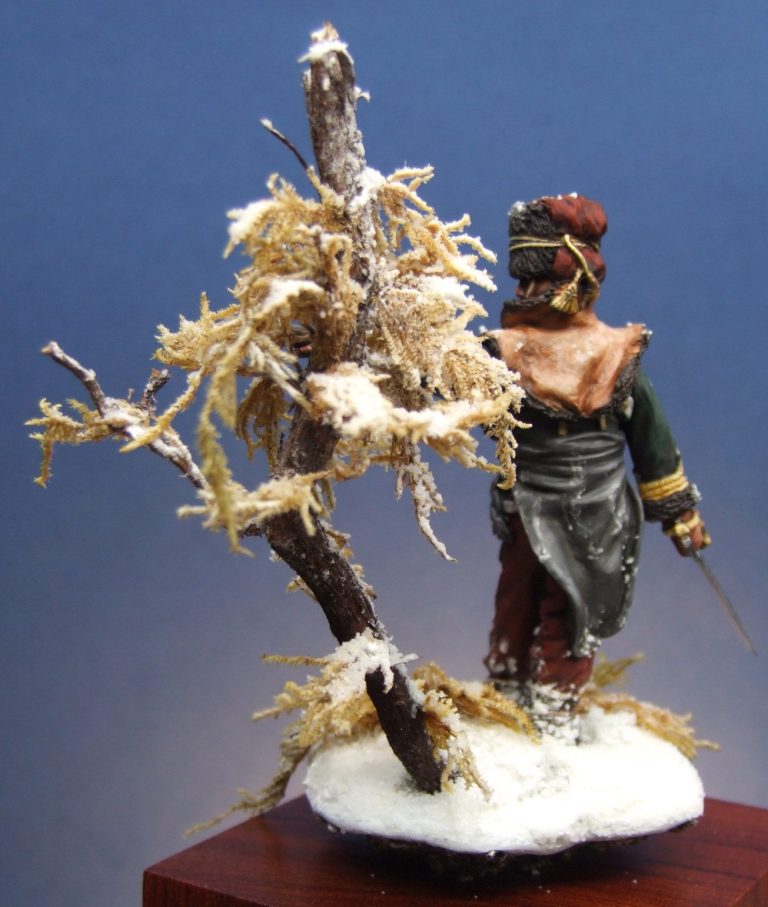
The tree is shown added to a simple piece of groundwork in photo #10.


Then with a covering of snow and a figure in photo #11.
Final thoughts.
Alright, I’ve not pickled too many different plants yet, but the success I’ve had so far is pretty heartening.
The moss I’ve used here works pretty well with 54mm figures, and I’ve just sourced some from a cleaner environment ( the first lot came from next to a boiler house at work, the new stuff from around a pond in the Lake District ) which is markedly bigger and would fit in with 90mm or 120mm subjects.
The bottle of Glycerine cost me about £1.80, and I got enough moss processed from that to fill a 2 litre ice cream box when it’s dry and fluffed back up.
Not all of the moss is useable, the roots and some of the stems are a bit sparse, but by picking the best bits off, there’s still a lot of figure bases that could be decorated with the amount processed here.

Then again, by replenishing the Glycerine in the pan and doing several batches, you can spread out the amount of Glycerine you use, so that it goes further.
I bought three bottles of it originally, and used them all in one go; hence, I probably won’t need any more of this type of moss for a while.
I hope that this is helpful if you do choose to try it, and it might be interesting to get some feedback as to what other plants that you find that are useable.
As a final note, this article was written in 2006 and I've still got a lot of moss left from that original batch.
The glycerine has prevented it drying out after all that time, and provided me with very cost effective tree branches and bushes for various scenic settings.
We need your consent to load the translations
We use a third-party service to translate the website content that may collect data about your activity. Please review the details in the privacy policy and accept the service to view the translations.