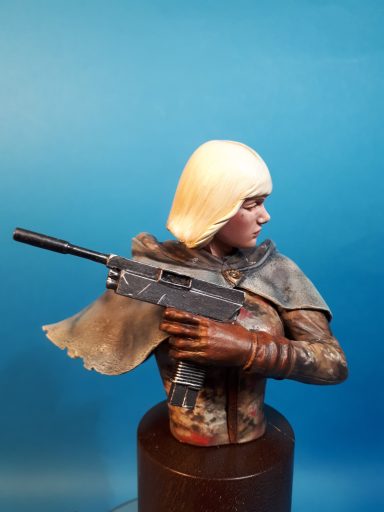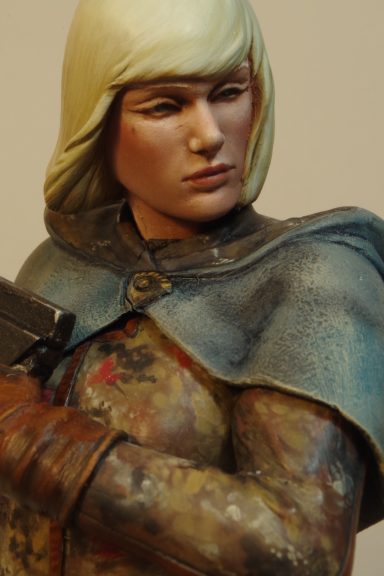
Girl with a Gun
Bash Models 1/8th resin bust
Converted and painted in 2019
A simple premise, I wanted to see if I could heavily convert a master sculpture that I’d bought, and to change it into something different enough to provide me with a new and marketable kit.
The basis for this was a bust kit called Herja and I had bought the master model with a view to starting a model company of my own. Converting and or changing models from a base master is nothing new and has been a viable system of making new kits from existing ones, so long as you own the master you’re using as a starting point.
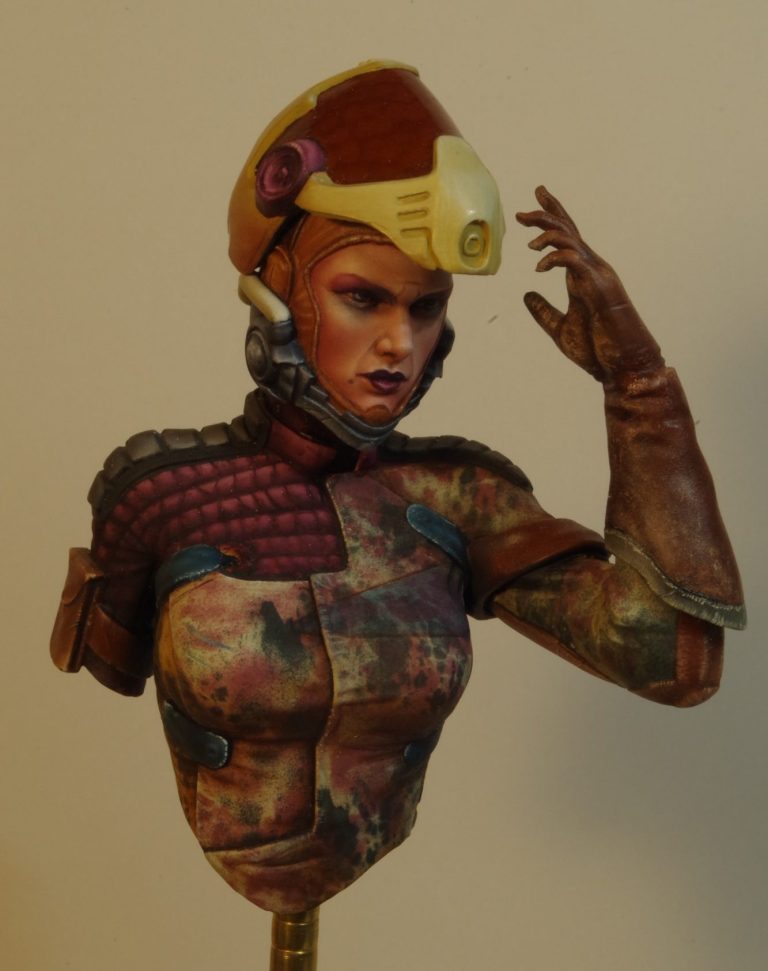
So, photo 1 is the picture of Herja ( or Spacegirl ) as I renamed her in an unaltered form.
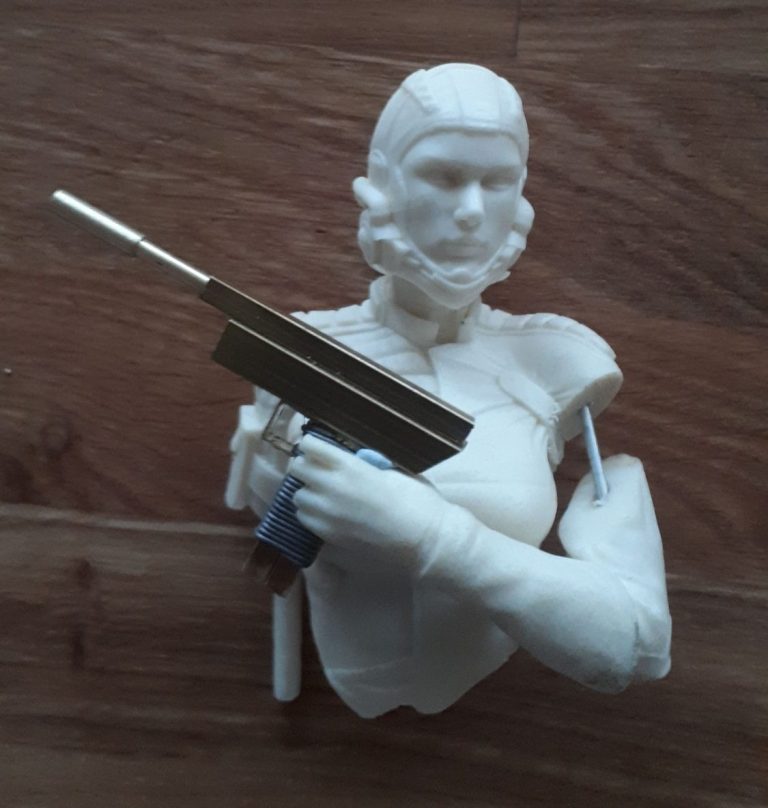
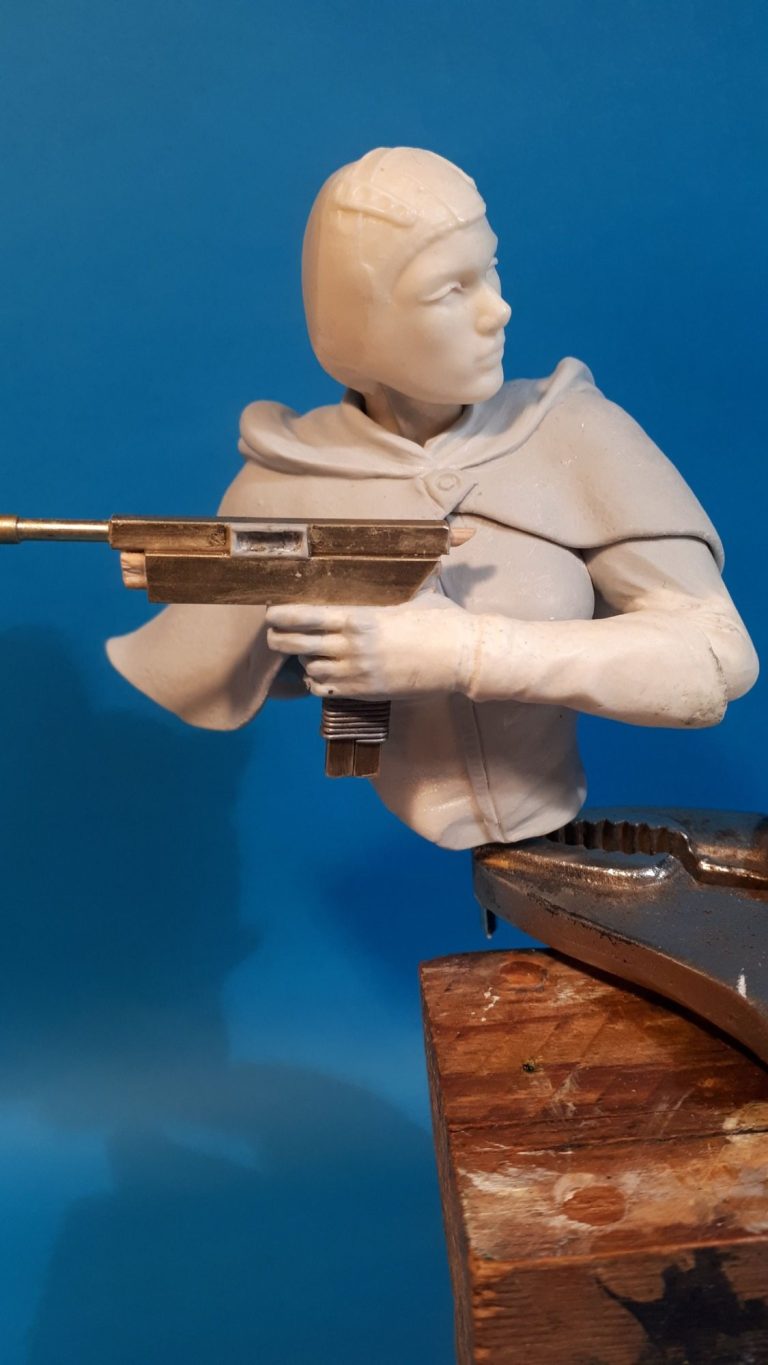
Beginning the process of planning what I wanted to do began in photo #2 where I’ve cut the arm to change it’s position, removed fingers on the hand to allow for the insertion of a scratch-built pistol and whilst a pin and some blu-tac have been used to fasten things together, nothing is glued and nothing is definite as far as the idea goes – it’s kind of thinking out loud with resin and brass.
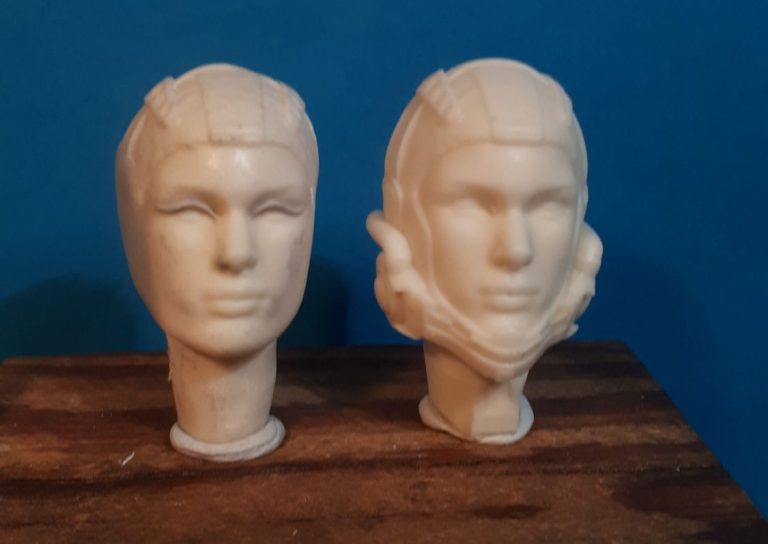
In photo #3 I’ve begun shaving back the helmet from the head. This was messy and dusty, and constant checking of the jaw line was necessary to retain the feminine look of the piece. So whilst the original head is on the right, the alterations are easily visible on the left.
After a lot of scraping, sanding and filing, the helmet had been completely removed and I was left with a very odd looking, bald female head.
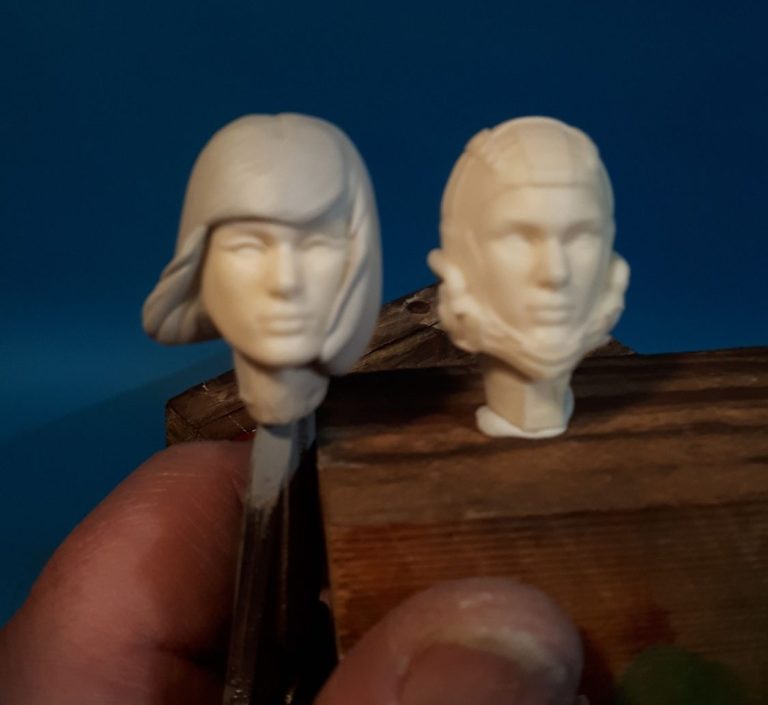
Better add some hair, and for that I used Magic Sculpt epoxy putty. I’d fixed my ideas on a “bobbed” hairstyle. This was mainly inspired by a picture painted by Jim Burns ( who’s artwork I’d buy and have on the walls if I was rich enough ) and partly to take in mould making at a later time.

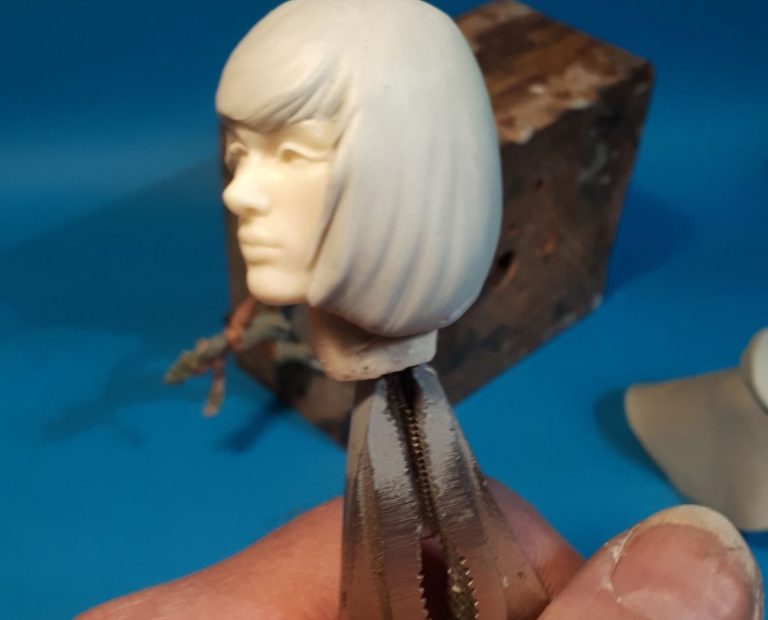
Photos #5, #6 and #7 give an all round view of the hair sculpt in its finished state, and this could be put to one side for the moment.

.
.

The hand and arm were separated as in photo #8. Again ease of mould making was primarily my thinking here - the arm on the Herja / Spacegirl piece is a nightmare to cast and get out of the mould. There’s quite a lot been done by the time this shot was taken. The hand was the first thing to be sorted out, the cuff of the glove was shaved back from the arm, the hand removed and then the fingers around the butt of the gun could be added with more of the Magic Sculpt putty. After test fitting the arm to the shoulder, I could add the wrist joint, and following that, the rest of the glove that is still on the arm section could be sculpted back in.
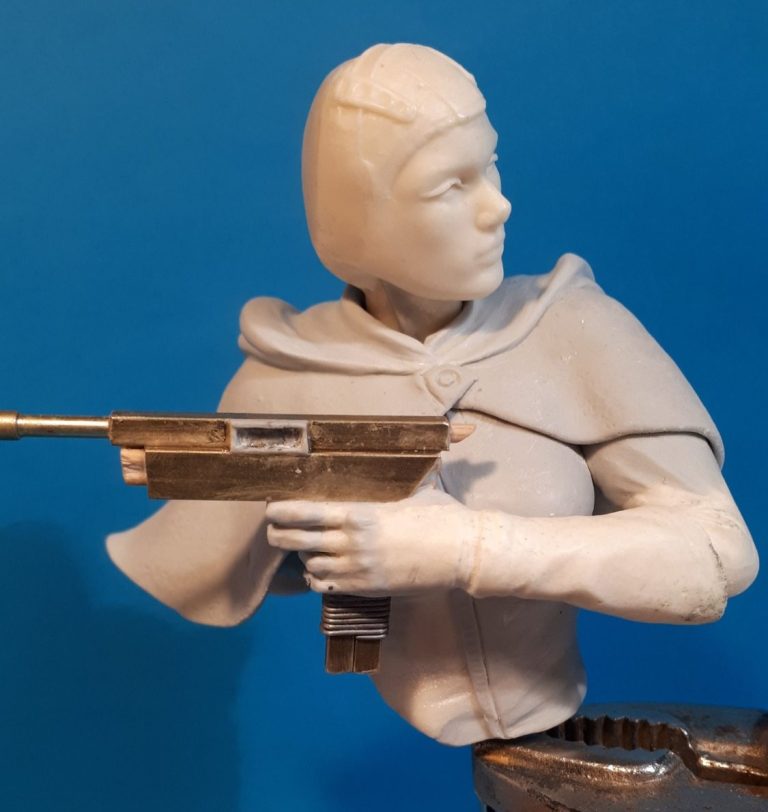
What I did find whilst testing all this for fit was that part of the front of the chest had to be shaved off to allow the gun and hand to sit properly. Once that had been sorted out, the arm section could be reinstated at the shoulder and the sleeve sculpted and smoothed out.
Whilst it was a reasonable join, I still had a lot of details retained from the original Spacegirl on the main body of the piece. I decided to shave most of this off and add a cloak with a hood. This again would add further differences from the original to distance the one from the other.
.
The cloak is shown in place in photo #9
and although the hair hasn’t yet been sculpted, the parts have been put together to test for fit – see photos #9 and #10.
The main difference between sculpting for oneself, and sculpting for a commercial kit, is that on the latter parts will need to have moulds made. The resin cast into them needs to be able to be extracted from them and if the mould maker knows their job, then he’ll plan it so that there are few if any bubbles in the casting and that the modeller has to deal with the minimum in mould part lines. We’d all like to have none of those at all, and the only company I know of that managed it was Verlinden. Us mere mortals though, well, we have to cut the mould somewhere to be able to get the castings out, and that cut is what makes the part lines as they are called. If the mould is misaligned or moves during setting up for casting, then you end up with a mould step. Steps can be very difficult to clean up, and usually involve putty to make good.
This means that the sculpting needs some thought behind it of how a part is going to sit in the mould, where cuts are going to be made in the rubber etc. Basically, the split of parts is pretty important, which is why parts are broken down in logical places like breaks in clothing.
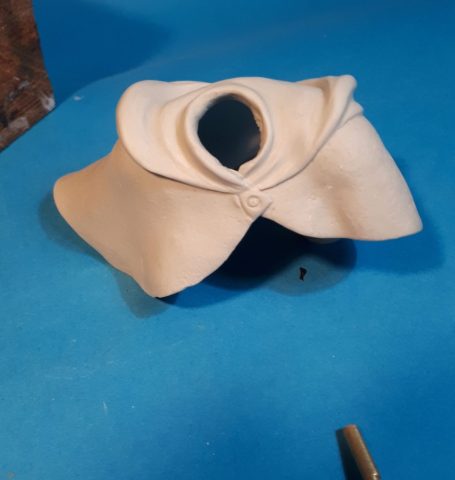
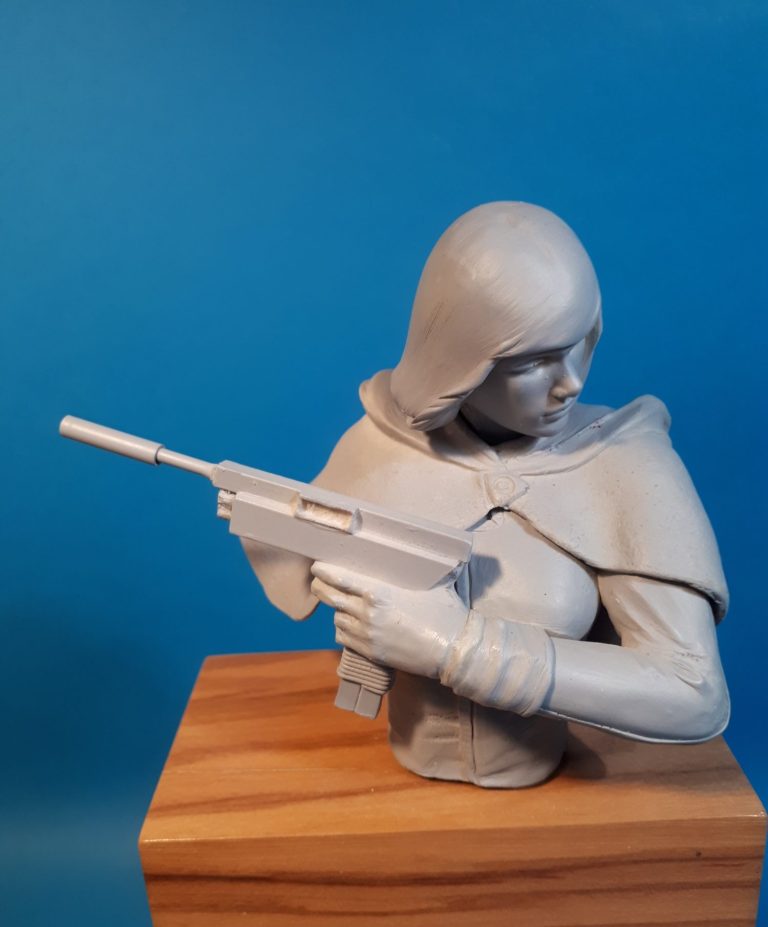
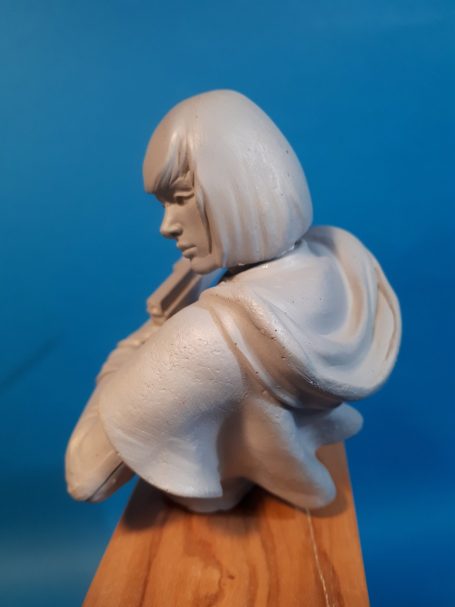
With this in mind, I‘d made the cloak as a completely separate part that slots over the bust prior to the head being added – see photo #11. Because it was quite a thin part, it wouldn’t be the easiest thing to cast, but it allowed the cloak to look very realistic on the finished piece.
.
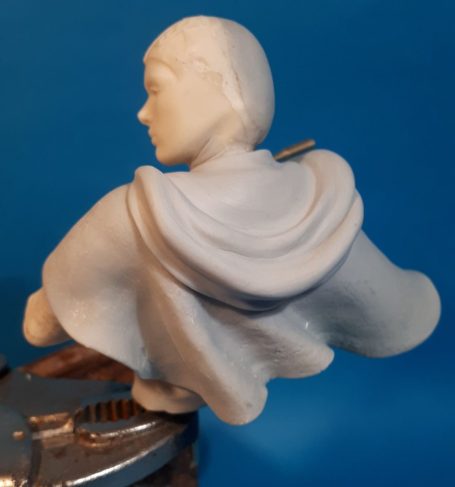
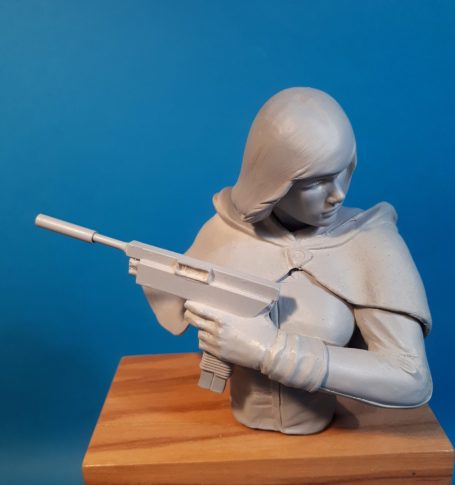
So, photos #12, #13 and #14
show the parts fitted together and primed so that any flaws can be seen and sorted out.
That’s another thing about mould making, you get a perfect replica of the master model components. If there’s dust, chips, finger prints or any imperfection, the future castings will show it all.
To show how the parts are broken down, it’s easiest to show you the first castings – photo #15. Worth noting is that section I had to remove from the chest to allow the gun to sit in place.


Of course to sell a kit you need some form of box art
Whilst I do like the idea of the simple grey undercoated pieces from certain companies ( old Stormtrooper and Mitches Military Models to name but two ) from a personal view I want to see what a painted up version looks like – to see if it works as a finished piece.
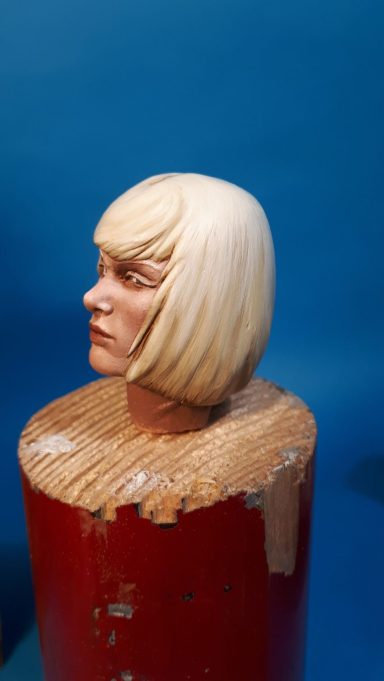
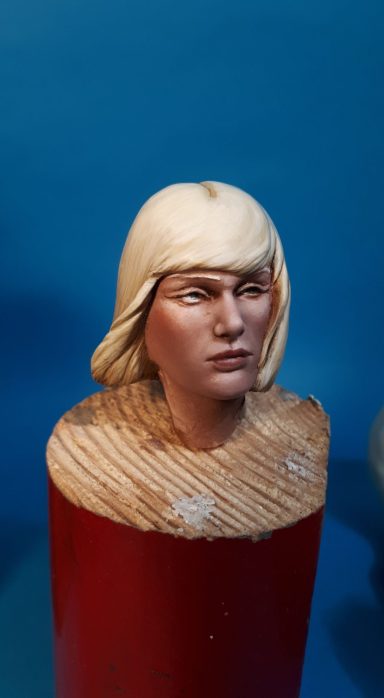
With that in mind, the face is painted up in photos #16 and #17 along with the blonde hair.
Apologies at this point for skipping the painting method on certain bits, I will return to those and cover them in future articles, but for the time being I’m focusing on areas that might be of interest and have stepped away from the norm.

Airbrushing figures has been something we’ve done for a good few years, and with fantasy pieces it allows a whole new set of possibilities for the painter, and in this case, production of a random camouflage by using masking.
Photo #18 shows the results from painting a basic brown colour over the chest section of the bust then spraying on lighter coats of sand and then pale cream colour acrylics through an airbrush.
The mask used to create the random splotches – simply a thin section of Loofah natural sponge. The sponge is held close to the area being painted, and then moved when that section is done.
I do tend to use masking tape, but only to provide me with breaks where different pieces of cloth would be joined to form the clothing. In this case a straight-ish line down from the armpit at each side, the front section being sprayed with the camo effect, then the masking moved to be over the section that’s finished and the sides of the shirt then sprayed. Most of this won’t be seen once the cloak goes over the top, but if any is visible, then I’ve got it sorted.
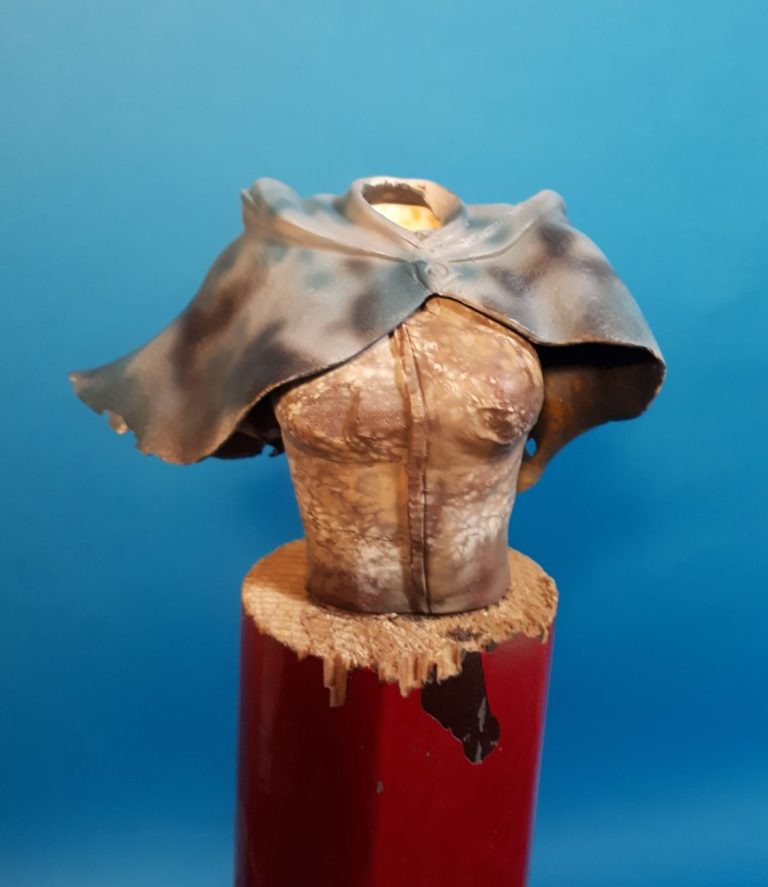
Once fully dry, oil paint washes can be added to pick out details, form shadows and enhance the visual shape of the casting. With the cloak in place, the effect can be better seen in photo #19.

Looking at photo #20 I’ve painted the inside of the hood in a similar fashion to the upper body, using a fine brush to pick out some small areas of white flecking. Hopefully this points to the cloak being reversible for different seasons / scenarios.
Again, oil washes are used to pick out and deepen shadow areas and pin washes blended in to their surroundings to further those dark effects.
All that’s left is to fasten it all together, add a nice plinth from Oakwood Studios and take the final photos.
This kit, along with the donor kit that the Girl with a Gun is based on – the Spacegirl - are available from the Bash Models Facebook page priced at £42 each plus postage.
Gallery
Some finished shots of the Girl with a Gun
We need your consent to load the translations
We use a third-party service to translate the website content that may collect data about your activity. Please review the details in the privacy policy and accept the service to view the translations.
