Old Man of the Woods
A 1/8th scale resin bust from Bash Models
Painted in 2020
I got the master sculptures of this and the Woodland Princess from Steve Crisp ( Darkstar Miniatures ) Via Richard Wharton of Oakwood Bases, as Richard thought that these would be of more interest and fit in better with my range of busts than the military subjects that he was producing under the Oakwood Studios banner.

To focus on this bust, it’s a superb bit of sculpting, I’m not sure if it was Steve’s son Martin Crisp that did it, but it looks like his style – completely different and just a joy to look at.
The master sculpts are shown in photo #1 where the head and shoulder castings have been coated in grey primer, but the antlers are still orange...... I’m not sure why.
The gaps around the base of the antlers isn’t anything to do with badly fitting parts, it’s simply because I’m using blobs of Blu-tac holding them together whilst I took the picture.
Making moulds for the head and the body was easy enough, the antlers were less of a breeze, and getting the resin to flow into the mould could be somewhat problematic.
I eventually got around that, but because of the twists and turns in each antler, I’d managed to mis-set the parts in the mould box when making the mould, something a fresh set-up and new pour of rubber solved.


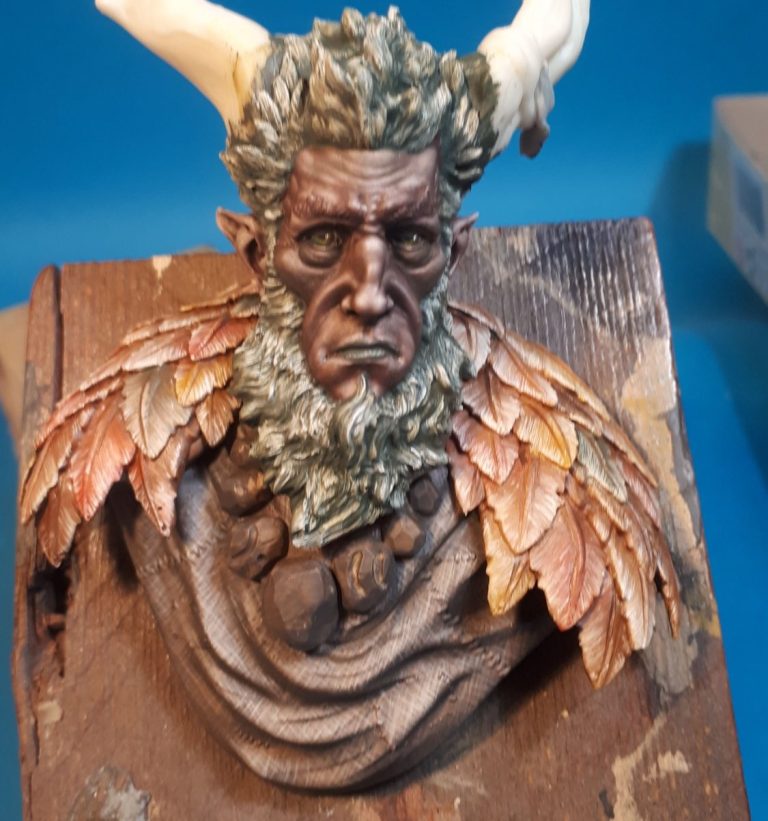
In photo #3 I’ve assembled the parts to show that they fit quite well. There will be the need for a wipe of putty around the base of each antler, but it’s nothing major, whilst the head to shoulders joint is hidden by the beard.
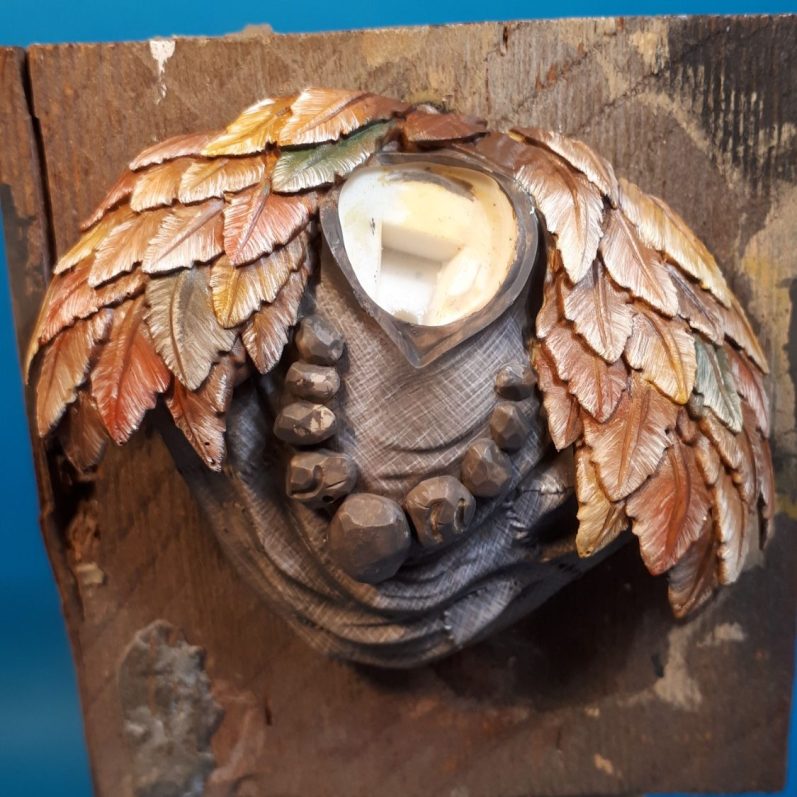
Photo #2 shows the newly cast parts, the small “tails” on the base of each antler and at the bottom of the beard are the pour points for the resin into the mould, and are easily removed and cleaned up.

Ah, the fun part, painting. This begins in photo #4, where I’ve added a primer coat of flesh coloured acrylic and Isopropyl Alcohol mixed in equal parts. This “grabs” onto the resin, and will take subsequent coats of paint very well. In this shot I’ve painted the tunic with acrylics, starting off with three or four thin coats of a Burnt Umber colour, allowing this ti dry fully, before adding thin lines of the same colour mixed with a little cream coloured acrylic to lighten the colour just a little. The lines of this colour run horizontally and vertically. I added four or five coats in each direction, not even trying to line up one coat of paint with the one added previously.
I continued adding small amounts of the cream coloured acrylic to the dark brown, thinning the mix with small amounts of water as I went along, and painting on four or five layers of each colour mix, and painting each coat of paint onto smaller and smaller areas to build up the mid=tones and highlights.
The paint builds up to give the illusion of a woven pattern on the tunic, and once fully dry I painted on a couple of thin washes of Burnt Umber Oils, paying attention to the areas that would be in deeper shadow.
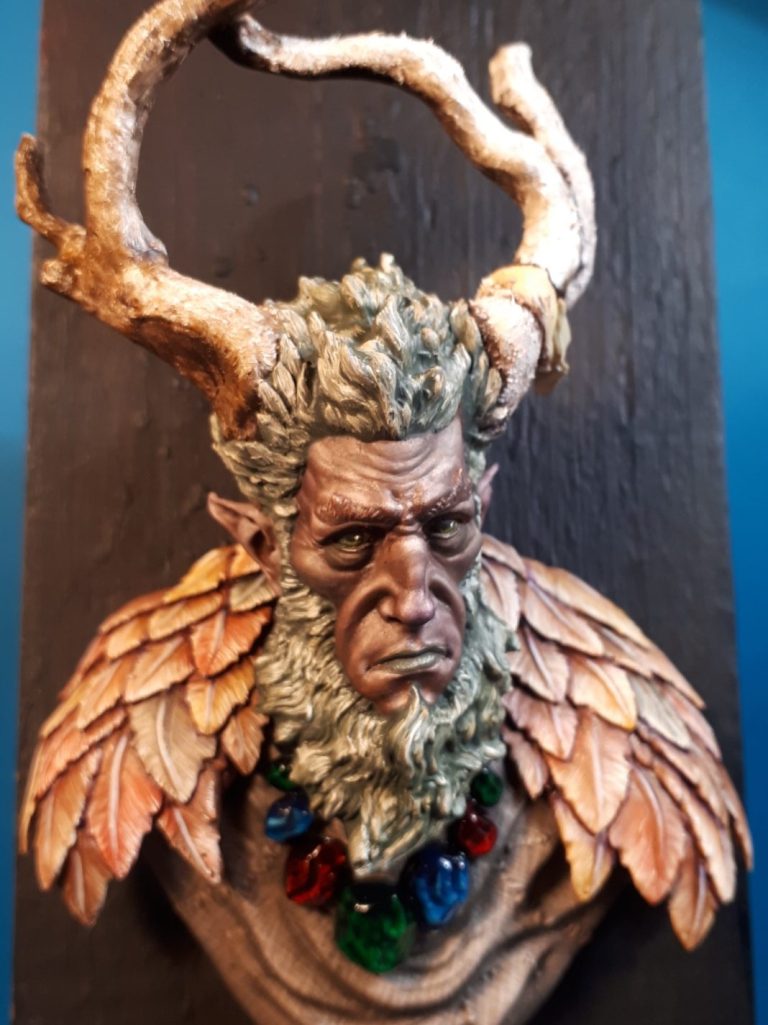
Also in photo #4 you can see that I’ve painted the leaves on the shoulders. The painting group I’m in had a discussion about this area of the bust, as some thought they looked like feathers, whilst others agreed with me that they were leaves. To be honest I think they could be painted to represent either, although feathers have the added bonus of brighter colours if the artist wished, and I don’t presume to judge anyone who chose that option – in fact I wouldn’t mind seeing how it would turn out.
Photo #5 doesn’t look like a lot has gone on, but it is the point at which I begin to paint the rocks / stones / jewels that are strung around his neck. I rather like painting jewels, and getting – if possible – the illusion that the jewel is translucent.
Here’s how I do it.....
Make sure the soon-to-be jewels are smooth and free of dust or specks of detritus.


Paint the jewels black with several thin coats to build up a solid colour – photo #6.
Paint on washes of white acrylic thinned with water, and do it so that the highlights are the wrong way up – i.e. the brightest bits are at the lower part of each jewel.
Now the trick here is to still have the black visible right at the bottom of each jewel, and in the case of these rough gems, I allowed the highlights to build up in several places on each one.
Allow plenty of time for this to then dry, and finally thin down some Tamiya Clear colour – they make Red, Orange, Yellow, Green, Blue and Smoke. I just used the red, blue and green.
There is a problem with the Tamiya paints, in that they are lacquers and not really designed to be applied with a brush. If you apply them neat, then they will dry too quickly, and you’ll likely get brush marks. Adding a second coat of undiluted colour will also attack the previous coat, and.... well... honestly, it’ll make a right mess.
Thinning with an equal amount of water does mean that you’ll have to add several coats to build up the strength of the colour, but the thinner paint will go on smoothly and the addition of the water does seem to halt the destruction of the previous layer.
Anyway, the result of about eight coats of the clear colours is shown in photo #7


With the shoulders pretty much done, I turned my attention to the face. I wanted a dark skin tone, hinting at his relationship to the woods and the bark of the trees, so after undercoating with flesh coloured acrylic, I added a mid-tone of Mars Brown oils over all the face, making sure it was worked into all the detail. I used a clean brush to take any excess paint off, stippling the whole of the face to leave a consistent finish to this colour.
Then I began adding the mid-tones and highlights.
As I wanted a darker finish to the skin, i didn’t use any white, but instead opted to add very small amounts of Buff Titanium to begin building up the mid-tones. By blending it into the darker brown with a small, soft brush I could make the transitions from dark to light very smooth if need be, and making sure to wipe the brush on an old cloth after each pass.
By adding the Buff Titanium in very small amounts, I could control the areas in which it built up, gradually lightening areas to bring out the highlights.
The finished effect is seen in photo #8, although it does look a bit strange without any colour on the hair to give it reference.


Photo #10 shows this stage almost complete, the paint isn’t drybrushed on across the detail, but applied with a motion that mimics combing the hair. The brush is loaded with a bit more paint than you’d use if drybrushing, and after every pass any excess paint is removed from the brush by wiping it on a soft cloth.
In photo #9 I’ve undercoated the beard in a dark green colour, and here you can see the difference between the undercoat – on the beard – and the initial shadow oil colour on the hair.
The brush isn’t washed at all in this process, just wiped on a dry cloth to remove any of the darker paint that it’s picked up off the model.
Photo #11 shows the head back in place. I know, the rocks haven’t been painted yet in this shot, but this is the magic of article writing where I can go backwards and forwards in time...... honest !


See, photos #12, #13 and #14, and those rocks are done, it’s almost like time travel.


For the antlers, i wanted to replicate ( to a certain extent ) the colouration of a Birch tree trunk, and the finished shots show this has been done. I painted the antlers with more of the sand coloured acrylic, and once that had dried, I painted on some Sepia oils, allowing this to settle for about half an hour ( while I drank a coffee ). Using a hogs hair brush – because it has very stiff bristles – I painted on, well, patted on Mars Yellow, allowing it to mix a little with the sepia, but not attempting to blend the two colurs at all, then moved on to a mix of the Mars Yellow and some titanium White, and finally just used pure titanium White on it’s own.
This rougher style of painting with a much stiffer brush, gave that cracked and peeling effect seen on Birch tree trunks, with a random pattern in miniatures on the antlers .
Now for a plinth.
Initially, I had this wild and wonderful idea of having the model attached to a flat background with tree trunks and twigs sprouting from the base and each side of him, so that the viewer would almost be looking through a copse of trees at the model. It wouldn’t be dense enough to hide him, but it would seem that he was semi-concealed, or was being observed through a clearing in the trees.
I got as far as sketching his outline of a back board, drilling out holes to accept some twigs etc, and test fitting him to it.
To be honest, whilst the idea seemed great in my imagination, even looked good when sketched out on paper, the reality was messy looking and simply didn’t work.


Well, you can’t win em all.
So as yet, he’s as you see him, attached to a block of wood with the face of it painted black.
I may well return to finish the idea off, i think it may have merit, but I just need to find an alternative way of presenting it....... We’ll see.
The model kit is available from Bash Models ( trader ash0040 on Ebay ) for around £35 plus postage.
We need your consent to load the translations
We use a third-party service to translate the website content that may collect data about your activity. Please review the details in the privacy policy and accept the service to view the translations.