Spacegirl Herja
Painted in 2016
I saw pictures of this online and straight away decided I wanted one. Simple decision, quickly made, glad I did.
The company that produced the model at that time was 1897 Miniatures....... Have you heard of them ?
OK, I had, but as Richie Auton ( the proprietor of 1897 Miniatures ) focuses on the Zulu Wars, I’d not paid too much attention, because whilst I do like historical pieces, the Zulu Wars aren’t a period of time that I’m interested in.
So this release was a bit of a curved ball to say the least – it’s not a Zulu, and she’s definitely not from 1897.
This piece reminded me a lot of the Hush bust from Chris Clayton, although I don’t think he’s sculpted the original for this kit.

There was no coloured box art to show at that point, and I got this from Richie Auton at the White Rose Christmas Bash back in December 2018.
Moving on twelve months and Richie contacted me about buying the rights to produce this kit within my own range and under my own banner – Bash Models. I jumped at the chance – after all, I liked it so much, why not buy it ?
As it was, I’d already at that point painted this, but switching back and forth in time within an article is OK....... honest.
Enough about that, lets get on with the painting.....
Did I take pictures of the parts before painting ?
Did I thump, I’m much too impatient for that !
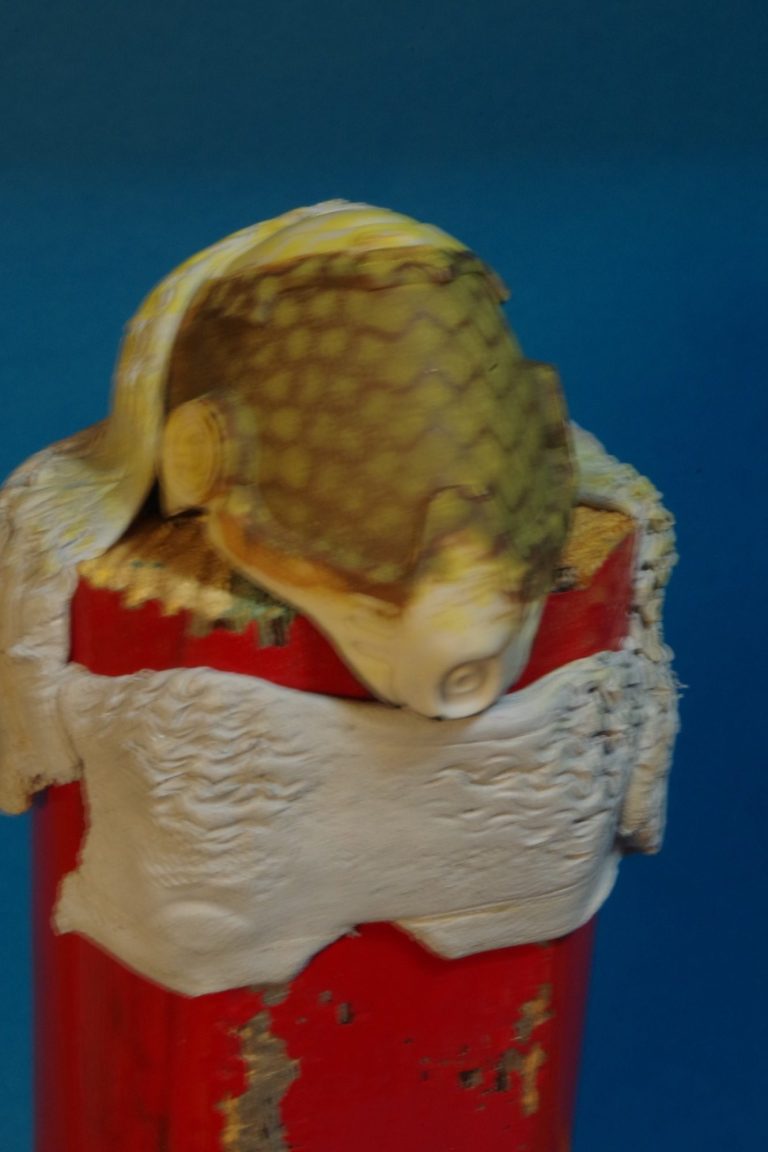
I’d seen a couple of different versions of faceplates painted up with patterns on them, I thought I’d have a go, so photo #1 shows the beginning of that.

The full helmet has been primed with a thin layer of acrylic paint mixed with Isopropyl Alcohol, then undercoated with a dark khaki colour. After that I stretched over a piece of lace curtain that had quite large holes in it. Using an airbrush I then sprayed a pale yellow acrylic over the whole area – that’s where I’ve got to in the first picture.

The interesting thing about masks of this type ( some might say exciting, however I’ll stick with interesting if that’s OK ), is you don’t know what you’re going to get until the mask comes off; it could well be a paint stripper job and then a do-over.
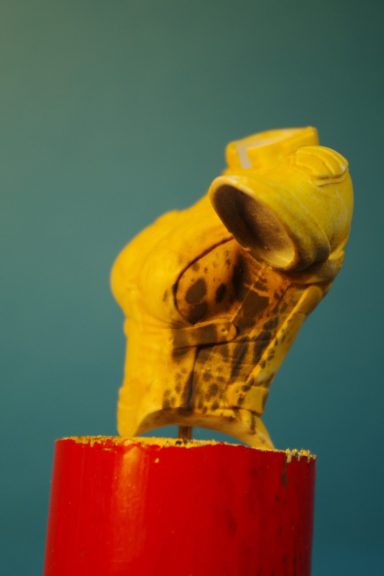
In photo #2 I’ve added several thin coats of Tamiya Clear Orange lacquer.

Again, interesting stuff to use with a brush,
you’ve got to add water to the clear colours if you’re going to build up layers
as the paint used in its raw form will dry too quickly ( usually ) and either drag or leave brush marks in the first coat, and then in subsequent layers it’ll try and melt the paint underneath. So add water in a 1:1 ratio with the paint. Use a big brush and paint quickly too, that helps a lot.
Once four or five coats have been applied, it’s best to let it harden off completely before adding more – so a night in the drying cupboard is where this component was going.
Which left me time to put some paint onto the face.
I tend to use a mix Mars Brown Oils and Titanium White over a flesh coloured acrylic undercoat for most faces. There’s enough variation in the two oil colours when mixed to allow for a great deal of difference with each face painted. In this case I decided to add just a little Carmine to the mix. Not a lot, just a little, to tint the main base colour.
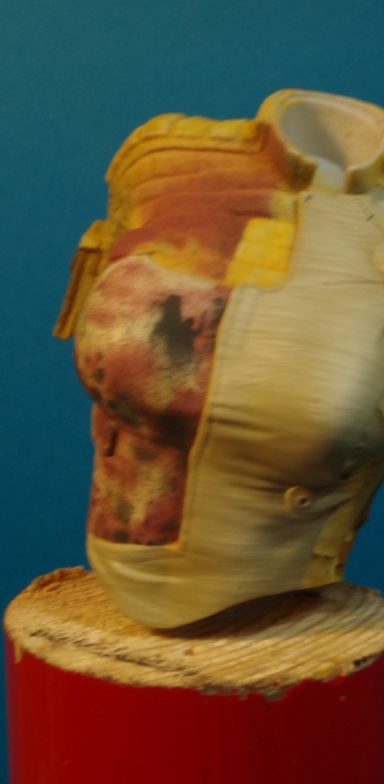
Having used a dark base colour to begin with, and coating the whole face with that, I added Titanium White in small amounts to build up the highlights. Photo #3 shows this along with the lips getting some Purple Madder Alizarin added to them.
As always, it looks odd without any eyes.
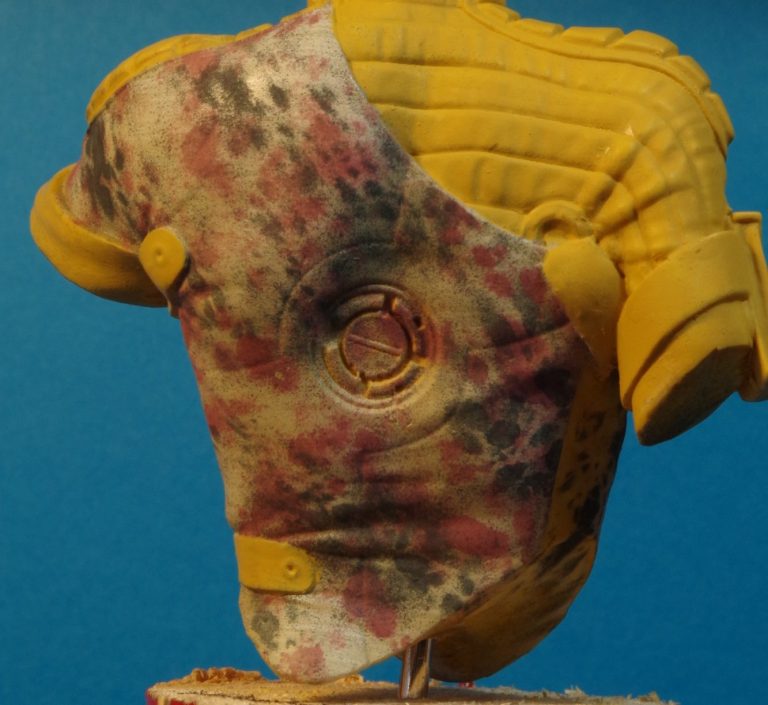
For the clothing I wanted a camouflage effect, but something organic looking rather than a modern digital style pattern. I tried a few different masking ideas and hit upon a very thin slice of Loofah sponge. Photo #4 shows the final effect, but this possibly needs a little explanation. The area was painted in the normal way with a yellow mix, highlighting and shading as though there was going to be no pattern added over the top. Once fully dry I cut a thin slice from the inner surface of the Loofah, having wet it thoroughly to make it pliable.
I can see a few vacant looks out there – “What’s a Loofah ?”

OK, a Loofah is a natural sponge,
somehow extracted from the gourd-like seed pod of a plant.
There’s a lot of texture to it and because it’s natural and not manmade, the pattern is completely random.
It is available in a dried form, sometimes compressed flat, but soaking it in water makes if become more pliable. It’s not easy to cut when dry because it’s quite solid, and adding the water only improves matters a little as it then becomes more fibrous – I didn’t say this was easy, just interesting
So, thin slice, applied to the basic curve of the area shown and spray black acrylic through the Loofah and this is the pattern you get.
I did it to both sides ( see photo #5 ) and was inordinately pleased with myself...... OK, you can stop laughing, I didn’t think it’d work, that’s why I was so pleased.

Photo #6 shows the sections of Loofah that I’d used, just large enough to cover the area being painted really.

For photo #7 I returned to the face. I painted the eyes in, although this was the only area that gave me a problem. It took several tries for some reason, but I got there in the end. Payne’s Grey was used for the iris, followed by Yellow Ochre and White to build up highlights, then black for the pupil and a spot of white for the catchlight.

I refined the shape of the lips too – photo #8 – and once the main area of the face was dry, added some blusher and deeper shadows with Purple Madder Alizarin and some Carmine oils.
Whilst that dried I was wracking my brain for what to do with the rest of the clothing. Did I want more camo ? Would that detract from those yellow areas too much ?
So I neatened up the area of the helmet surrounding the faceplate ( photo #9 ) so I could begin painting that.
Having thought about it for a bit, I decided to make use of the Loofah sponge again, but this time spray two different colours through it over a third “ground” colour.
The beginnings of this are shown in photo #10 where I’ve painted a section of the clothing with a warm grey ( bit of sand colour, a fair amount of white and a spot of black acrylics ), then added a pink colour and a very dark blue through the airbrush to make a very random pattern.


The hardest bit of this is applying the masking to block off the areas already painted. Tamiya tape is brilliant and quite flexible, and I used it a lot on this model.
My thoughts extended to how the different pieces of material would be sown together to make the garment – and how the camo pattern would not match up at seams / joints in the material. So it wasn’t just a case of mask off the yellow sections and “go for it”, it was a serious case of rendering each section separately, then applying more masking tape so that any previous paint wasn’t damaged.
See photos #11 and #12. There’s some shading to be added and some neatening up of edges, but the basics are there.
And what a relief to take all the masking off and not have any paint lift away with it !


Oh go on then, a back view too – photo #13.
In all this I wanted to keep colours harmonious and from a limited palette. The quilting had to be either a yellowish colour, or go with a purple – it could have gone either way. I decided on the purple, because I felt that this would tie the face make-up to the clothing.
Again I used oils to paint the quilted section over the shoulder, adding the Purple Madder Alizarin over a lighter purple acrylic undercoat. The mid-tones and highlights were built up with additions of Titanium White.

This is shown in photos #14 and #15 along with the head temporarily in place. I returned to the yellow shades for the leather sections of the helmet, and used more Payne’s Grey for the metal areas of the lower helmet again to tie the colour scheme together ( the colour for these being based on the shades used for the eyes and darker shade of the camo pattern )

The shoulder pads I thought should probably be some rubber type of compound, and so they got some very dark brown oils painted onto them, highlighting with pale grey and adding scuffs and damage from Buff Titanium.
.

Finishing details
The fasteners holding the clothing together, along with the strap that runs across the upper left arm gave me some pause for thought. It was so tempting to paint them all with brown leather colours, but I resisted and used some Prussian Blue on the fastenings, caving in to use brown leather colours on the left arm strap and the small pouch on the upper right arm.
The final touches to the clothing were from a suggestion from Paul Dobson. He mentioned that the separate areas on the front of the model needed to be brought out, and that by adding a light colour to hint at wear on the edges ( think of the lightening process that happens on the seams on a pair of jeans ) might work. He was right too – see the final photos.
Just to return to photo #14, there’s a distinct triangle of material sculpted in the jacket across her left breast, this along with a section of material on the back was given a couple of washes of Prussian Blue so that whilst the camo pattern wasn’t obliterated, a difference in colour from the rest of the jacket could be seen.

The helmet takes it’s colouration from those used on the rest of the model, purple and yellow, with the only exception being the orange of the faceplate.
And that’s it folks. A simple to put together kit, good moulding, nice design and a joy to paint. If you’re not keen on painting faces, then the helmet is large enough to cover the head, in fact I’ve cheated a little and used a blob of Blu-tac to fasten the helmet in position so it can be moved to cover the face if I want.
There’s no clear pivot point externally on the helmet, so it’s a case of seeing what angle you want it at and setting it in place.

There’s lots of opportunity to add detail or paint detail on, even damaging the equipment to some extend – further than the scratches and scrapes I’ve added to the clothing and leather.

If you missed out on Chris Clayton’s “Hush” bust, then this might be worth consideration as an alternative. It’s not the same, it’s not a replacement for the “Hush” bust, it’s just similar enough and pleasing enough to be worthy of inclusion in your display.
Gallery
Going back to the comment (“ I liked it so much that I bought the rights to produce it” The next logical step for me was to use the parts to do a heavy conversion from this Spacegirl to..... well something else. And hey presto, I have a link to another article. That’s writers for you !
The Spacegirl is available from the Bash Models Facebook page and retails for £42 plus p&p
We need your consent to load the translations
We use a third-party service to translate the website content that may collect data about your activity. Please review the details in the privacy policy and accept the service to view the translations.


