The Hush
Limited run Sci-fi resin bust by Chris Clayton
Painted in 2015

There is one huge ( possibly that should be capitalised – HUGE ) problem to get around with this bust…….. Chris Clayton not only sculpted it, but he painted one too !
And that about finishes it folks – article done, dusted, you want to see one done excellently, perfectly and just right ? Then see his WIP online if you can. Hopefully no-one will mind me including this picture of his here – photo #1
All others will be but pale reflections I’m afraid; he is the master !
OK Kiril did one a while afterwards that was very good too ( photo #2 ), and possibly bettered Chris’s original painting, but I’d not like to say which one I prefer.


So, nothing to see here, move along, move along……
You think I’m joking, honestly I’m not; Chris rendered one of these brilliantly and to get away from that and not copy, not compare your own effort, well it’d take some doing.
I wanted something different then, but not to alter much if anything barring the colour scheme.
Faced with the kit in its raw form, you get some really nicely moulded components, some of which are shown in photo #3, which all fit together beautifully, clear resin for a visor and the option of a chin guard that is either open or closed.

Changing anything about the kit seems madness really, but I did alter a couple of things just to make mine a little different.
I changed the barrel of the rifle to a longer silenced version of the original, using a large hypodermic nozzle off a glue gun, adding a noise suppressor made from appropriately sized tubes – see photo #4.
I also cut off the centre section of the chin guard, fixing the cheek pieces in place to extend the sides of the helmet – see photo #3, and added a venting valve to the underside of the rifle’s butt – back to photo #4.
My imagination had already started travelling, and the road I followed was of an imaginary female sniper – she’d need clothing and armour that was subdued in colour, it’d have been well used, as she’s no rookie; and so my mind turned to what colours I could use.
Whilst my mind worked, I primed up all the parts with some acrylic flesh colour that had been heavily thinned with Isopropyl Alcohol.
My mind turns slowly, so I had plenty of time………But eventually I had a plan.

I began with the armour sections, these would be metallic in appearance, but not some crass silver hue. Instead I opted for a bronze effect, making use of a black undercoat in acrylic and then adding oil based printers ink over the top of that.
The inks are available from El Greco Miniatures online, and come in a range of colours. All mix with tube oil paints so the shades can be altered, and the inks will also mix with one another, so gradual changes in colour can be made.
I began with a mix of Mars Black oil paint and Bronze ink, applying this to the whole section of chest armour, then blending in more of the Bronze. After this I added some Antique Gold to the model to build up the highlights and finally topped of with some Old Silver.
Scratches and some small amounts of damage were added using a mix of the silver and gold colours, and each scratch was then given a fine line of black above it to make it look like there was some depth to each bit of damage.
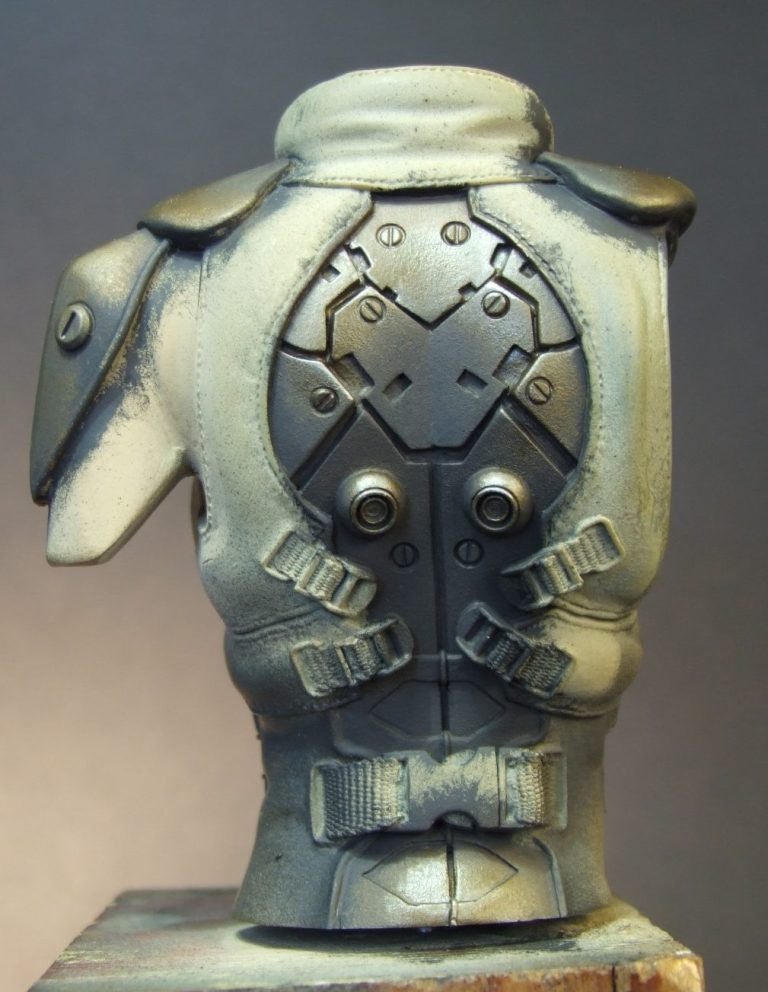
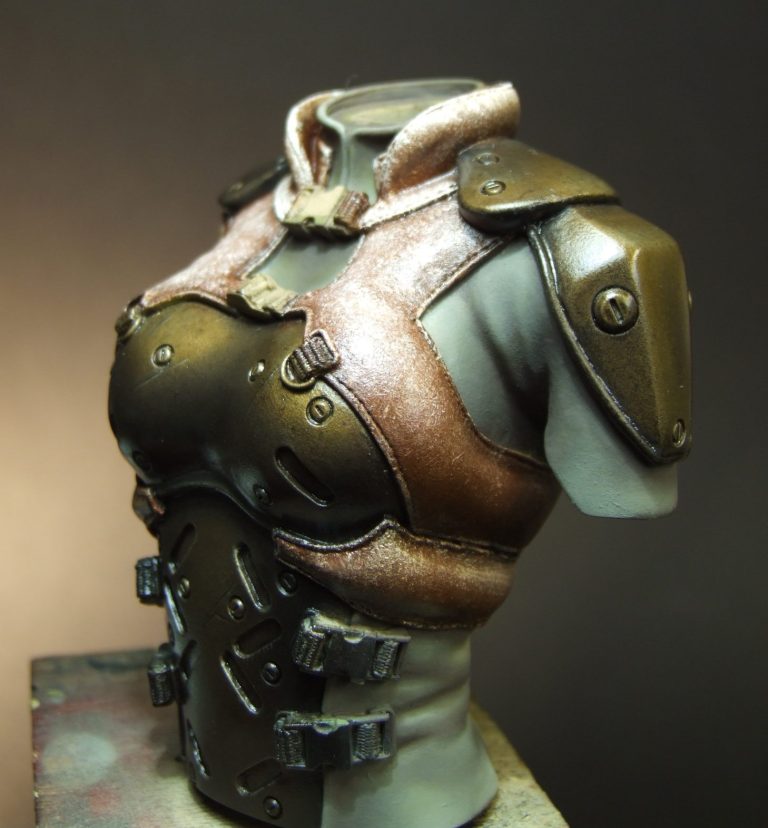
I also added some of this lighter colour to the edges of any detail, then let the magic of the inks work by putting the model into a drying cupboard – an old kitchen cupboard unit with a 40 watt light bulb inside it. The heat that the bulb gives off warms the cupboard up and helps the oils dry. The result is seen in photo #5, a very smooth and nicely blended area of metal that is completely matt.

I did the back, shoulders and helmet exactly the same way – see photos #6 and #7.
To make the metal areas shine I then added several thin layers of Tamiya “Smoke” coloured lacquer.

By thinning it with water, it flows a lot better and also allows the painter to add several layers.
Using the “Smoke” neat from the pot works quicker, but because the carrier for the pigment has an alcohol base, when you try a second coat, it starts eating into the first coat and makes a right old mess……. So make sure you add water to stop this happening !
The effect of using four thinned coats of the " Tamiya Smoke" is shown in photo #8


With that all done I could start playing with the flesh tones.
I was really tempted to go for something off the wall and non-human, something in green, or blue perhaps, but at the end of the day I wanted her to look believable, and sticking to colours that at least had shouting acquaintance with a Caucasian would keep things on an even keel.
I mixed up some more of the flesh coloured acrylic, recoated the face a few times to get a good solid base, then began with the oil paints.
The mix I tend to use is really simple – Mars Brown ( which has a reddish bias ) and Titanium White ( which doesn’t ). Mix a portion of each together and you get a colour that has a vague tendency towards human skin. I try and make the colour about three shades too dark for what I think will be the finished colour, coat the whole face with this and use that as my base for the shadows – see photo #9.

Simply by adding small amounts of the Titanium white I can then adjust the colour of certain areas of the face to build up mid-tones and highlights – the spots of colour added in photo #10, and then I’ve begun the process of blending the white into the flesh tone with a large soft brush in photo #11.
As you can see in this shot I’ve just worked on the forehead, using a stippling motion with the brush to leave a slight texture to the surface of the paint. I also wipe the brush on a clean dry cloth regularly to remove excess paint.


Photo #12 shows the first stage of blending completed, and to build the highlights further I then add more of the white to the same areas, but less paint and smaller areas – see photo #13.

I’ve then blended the additional white into the surrounding areas in photo #14. keeping the paint in one place is important, otherwise the whole of the face just ends up one colour, so the stippling motion is simply a straight up-and-down movement that blends the wet paints together in a certain area. Slight movement to either side around that section is made, but basically the spot or line of paint is spread very little, then the brush is wiped on the cloth and another spot of paint is worked on.
It’s very important to keep the brush clean and free from dust, but at the same time as dry as possible. No thinners are used until the process is completed, and then only to wash the brushes thoroughly.


Final spots of highlight are added in photo #15, and whilst the change they have is minimal, they are important – the full blend being seen in photo #16.
At this point the face looks a bit lifeless and perhaps appears to have too much contrast, however the paint needs to dry and the optical brighteners that all white paint has will fade out over the course of the next couple of months ( yes, guys and girls, optical brighteners are in almost all white paints, whether it’s what you’re painting on a model or what you’re slapping on the doors and skirting boards in your home –particularly this last type, and their effect can be seen if you go back and repaint a small section of skirting board or door after twelve months or so. The new paint appears bright, the old seems to have yellowed. It’s only ever visible if you put new next to old though ).


But back to the face on this gal.
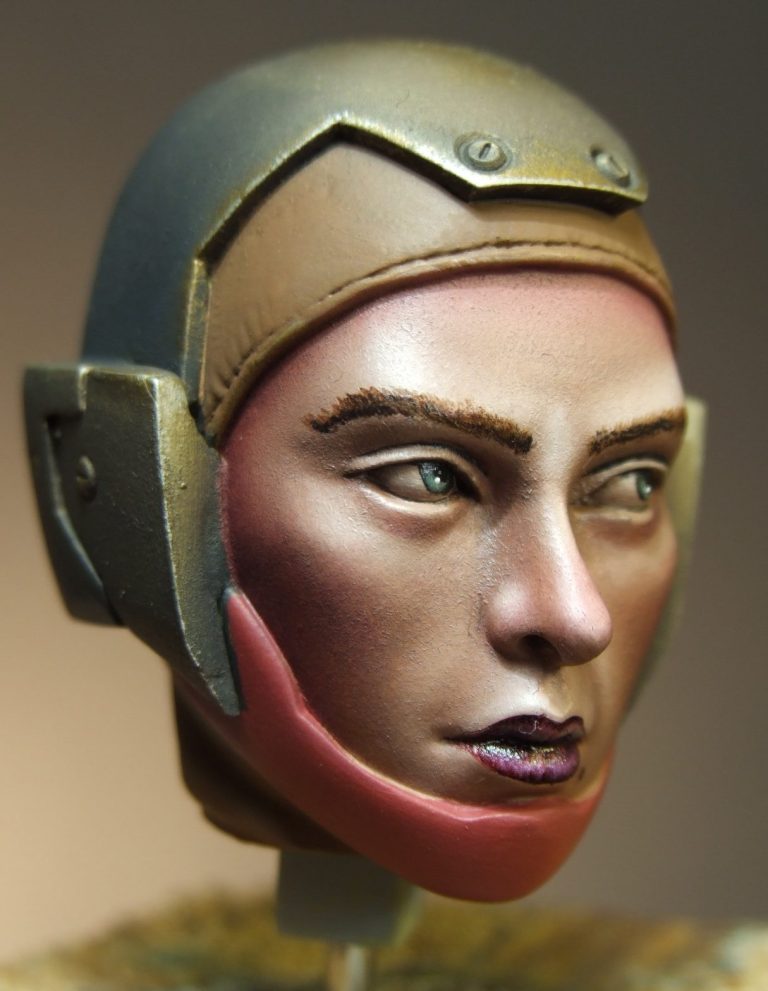
In photos #17 and #18 I’ve added the eyebrow, eye and lip colours, using a purple for the lips, Payne’s Grey for the eyes and some Mars Brown for the eyebrows. It brings the face to life, and hopefully makes her look a bit better.


I started testing out colours for the chin guard and the helmet liner, the latter would be a leather colour, but the rusty red just didn’t seem to work at all. I’d have to think some more on that and changed it back to a sand colour by the time I test fitted the head to the body in photos #19 and #20.
It’s not too visible in these two pictures, but I’ve painted in the tunic colour underneath the armour sections of the body. I went for a green colour as it goes well with both the bronze of the armour and the idea of a sniper trying to camouflage herself.
I used a mix of Chrome Green, Mars Black and quite a bit of the Titanium White to produce a mid-green that could be shaded with more of the green and black oils and then highlighted with a lot more of the white.


In photo #21 I have finished the padded armour sections on the body and neck. I chose a reddish brown for these, stippling colours with an old brush so that the finish appeared speckled and broken. I began with a dark brown mixed from Mars Black and Mars Brown, adding more of the Mars Brown, then Light Red and finally a mix of Mars Yellow and Titanium White to finish off with. Once all this had dried I returned to paint in the stitching and deepen some of the shadows with the mix of black and brown, thinned heavily with white spirit.

Photos #22 through to #25 show the head back in place, and again this is so I can see how the colours are working and giving me chance to think about what colours to use on the clasps, belts, helmet liner and the chin strap.


Whilst I contemplated all that I moved on to the rifle. Having altered the shape of it I had pushed the weapon more towards being used by a sniper, and so I’d thought I’d continue the idea of camouflage onto the body of the weapon, even thinking at one point of adding some scrim netting to it once the painting had been done.
Whilst it looks quite bright in photos #26 and #27, what I’ve done here is use various Tamiya acrylic colours, thinned with Isopropyl Alcohol, and sprayed in a random camo pattern over the whole of the weapon.
Once fully dried I added a couple of coats of Tamiya “Smoke” lacquer and then painted Mars Black oils over the whole rifle, using a soft cloth to wipe most of the black paint off, and just leaving it in the deeper recesses. This final addition of the black oils mutes the colours a lot and makes the rifle look used – see the final photos.

In the final shots you will also see the fancy wood plinth that the model is mounted on, supplied by my good friend Nick Tebbs, a good quality base always makes a model look better, and in this case a darn sight better – thanks Nick.


It’s worth mentioning that these final shots show the balance of the colours used once everything has been finished. Some retouching of areas was done – the highlights on the nose, forehead and cheekbones for example was upped a little, and the purple added to the shadows of the face was darkened slightly. It’s all a case of seeing how the model looks when it’s completely covered in paint, with the effects put in place that you were trying for, and then leaving it for a week or possibly two to allow the paint to settle and for you to be able to look at the model with fresh eyes.
Added to that, there’s then the opportunity to let other people have a look, and if possible see the model in the flesh rather than in pictures – quite a few people had seen shots of this and then said it looked quite different ( some even said it looked better ) when seen on display at FigureWorld – it’s worth returning to a model sometimes and making slight alterations or adjustments after a short period, or if you wish to take on other people’s opinions or advice.
Overall I have mixed feelings about this piece. Oh don’t worry, I’m very pleased with how it turned out, and the fact that I’ve painted it in a manner that I’m happy about and is vastly different from Chris Clayton’s original is something of an achievement – well for me at least.
However I am somewhat sad that I’ve put paint on it at all, there’s only fifty of these in existence, and I’ve gone and ruined one with splodges of colour.
Then again, is it more sad that there’s up to forty nine others of this model, languishing unpainted and feeling unloved by their owners……..I don’t know, do models have feelings, do androids dream of electric sheep ?


We need your consent to load the translations
We use a third-party service to translate the website content that may collect data about your activity. Please review the details in the privacy policy and accept the service to view the translations.