
Kreethul
1/8th scale resin bust from 3Dart Design
Painted in 2017
Kreethul the Ever-Vigilant, to give him his full name is a mix of ideas coupling a Skink-like lizard with some very Oriental looking armour.
I came across this range of busts as a kickstarter back in 2017, and thought it worth buying not just the whole set, but also a few extra copies.
Whilst the bust that seemed to draw everyone in ( including me ) was the lizard bust that was very similar to some of the Games Workshop offerings in 28mm, this skink, the Female demon and the Samurai were less connected to the GW world.
I’ve painted the Lizard, and whilst it looked good in photos, I think it’s a little bit over-the-top. This skink though is spot on, and whilst very detailed, with plenty to keep the painter occupied, just seems a better thought out concept.

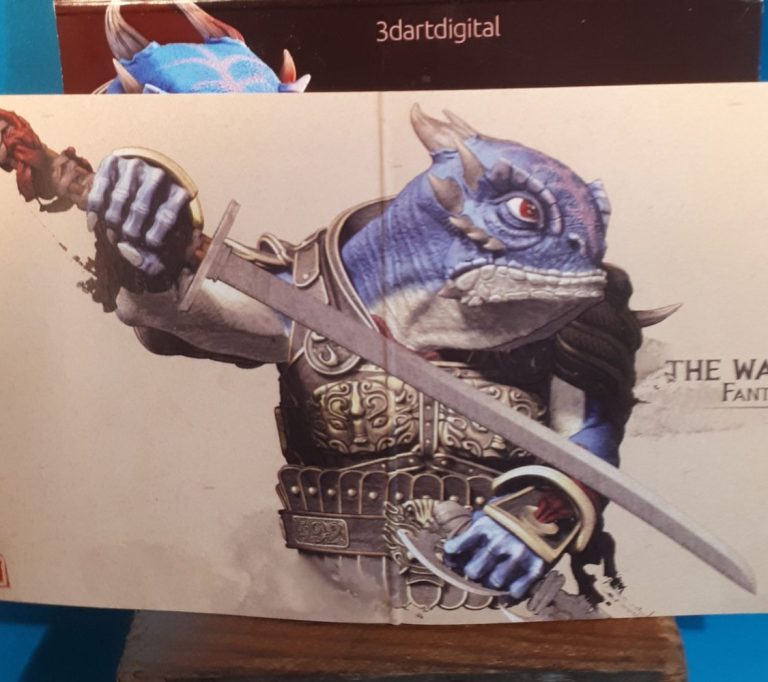
Photo #1 shows the box art, the armour looking a little cartoon-like, and only really hinting at what’s inside.
Photo #2 shows the artwork that accompanies the model, an artists impression of the bust which, to be honest, is good enough to put in a frame.
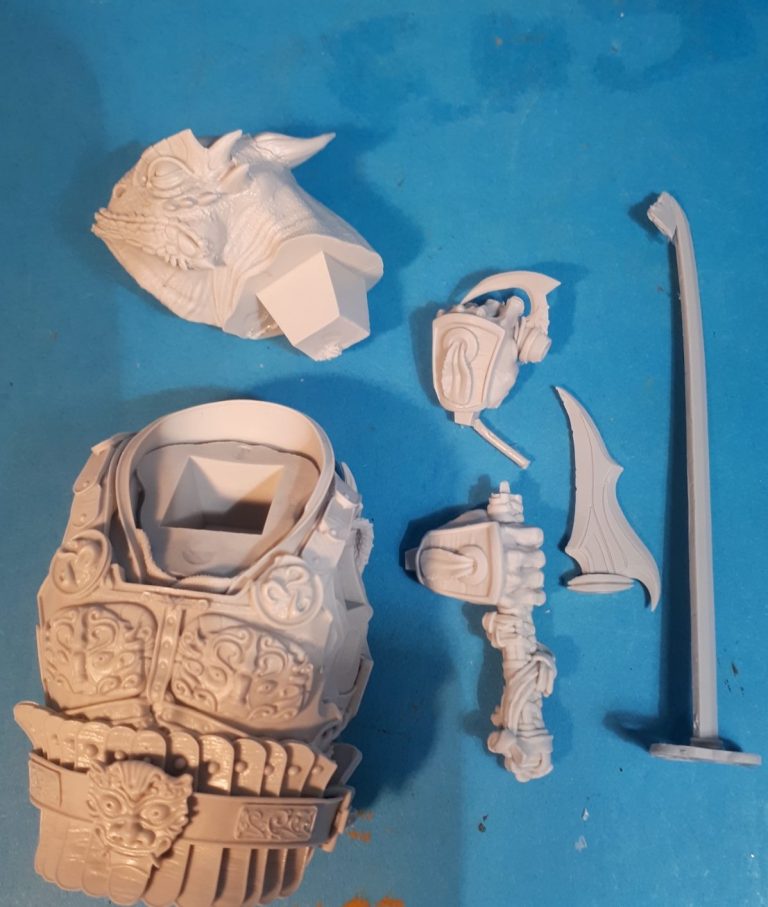
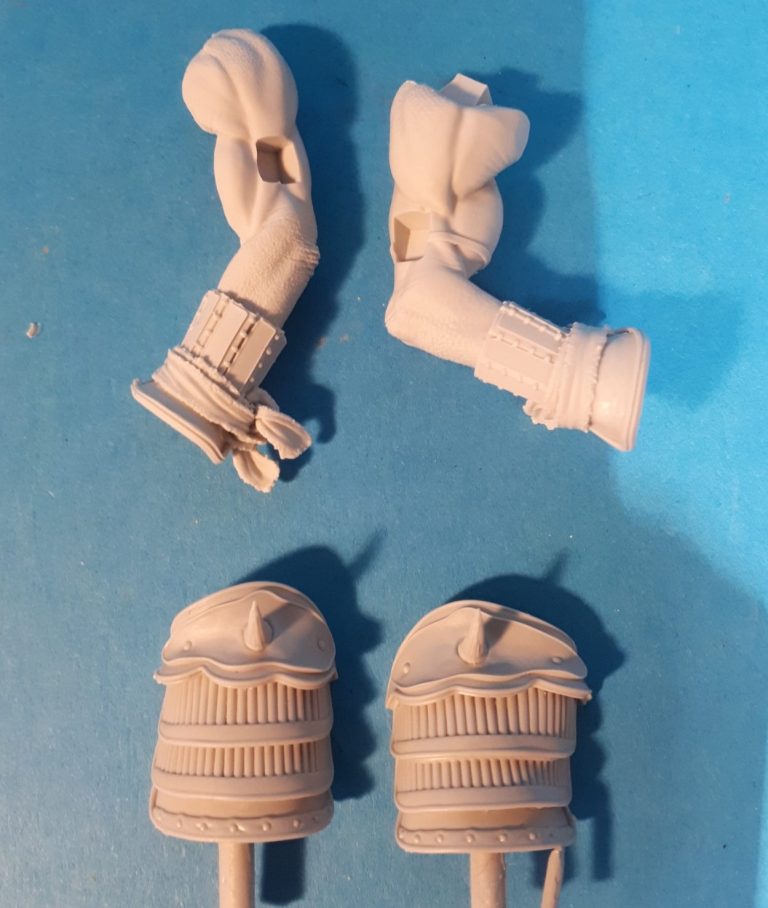
In photos #3 and #4 I’ve laid out the components, all very clean and very well moulded. It’s at this point that you realise that 3D printing is involved. I’m not sure if each and every part is printed, or if the masters are printed and then very skilfully moulded and cast. But either way, the parts are very clean, and fit together really, really well.
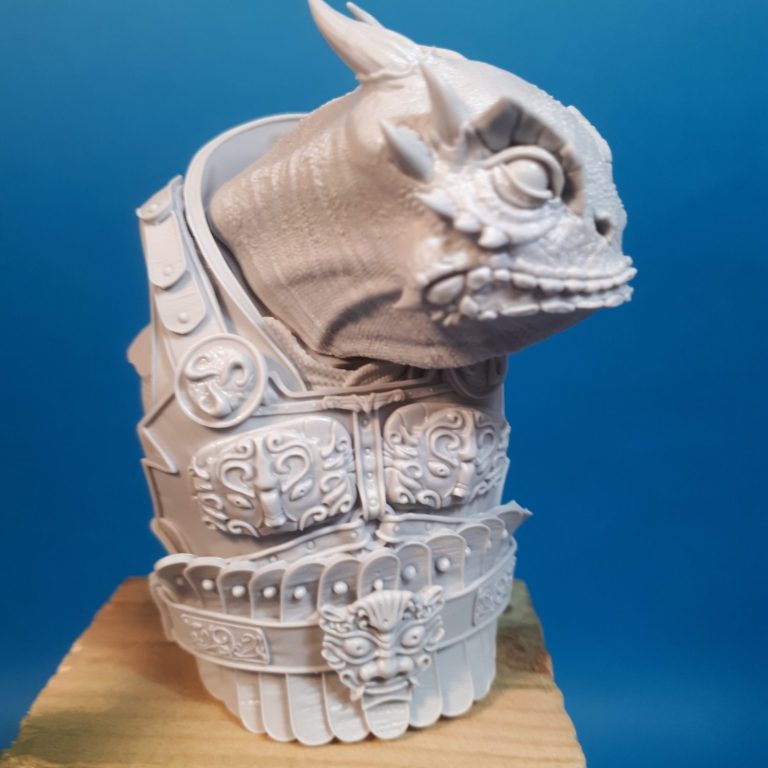
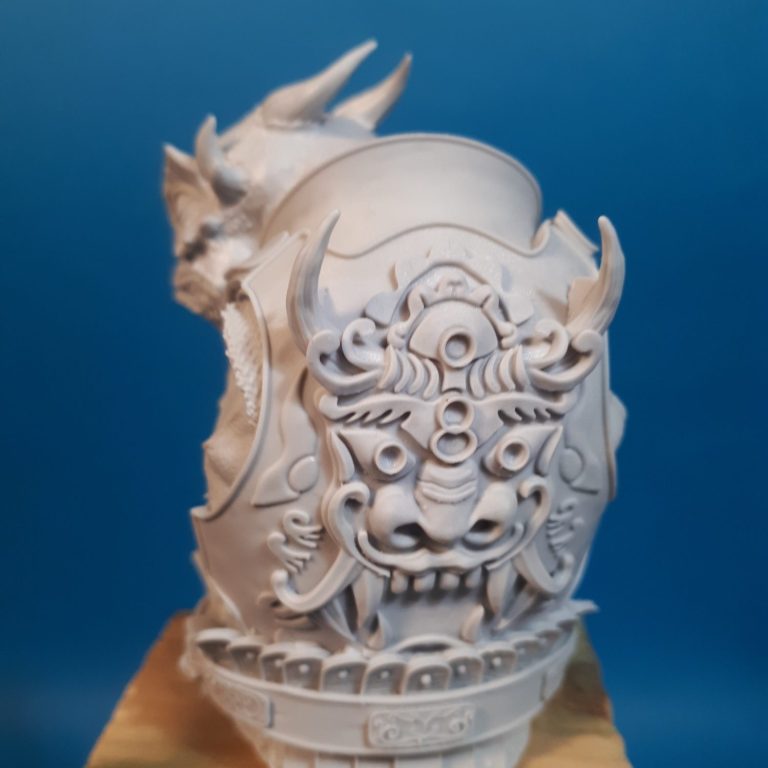
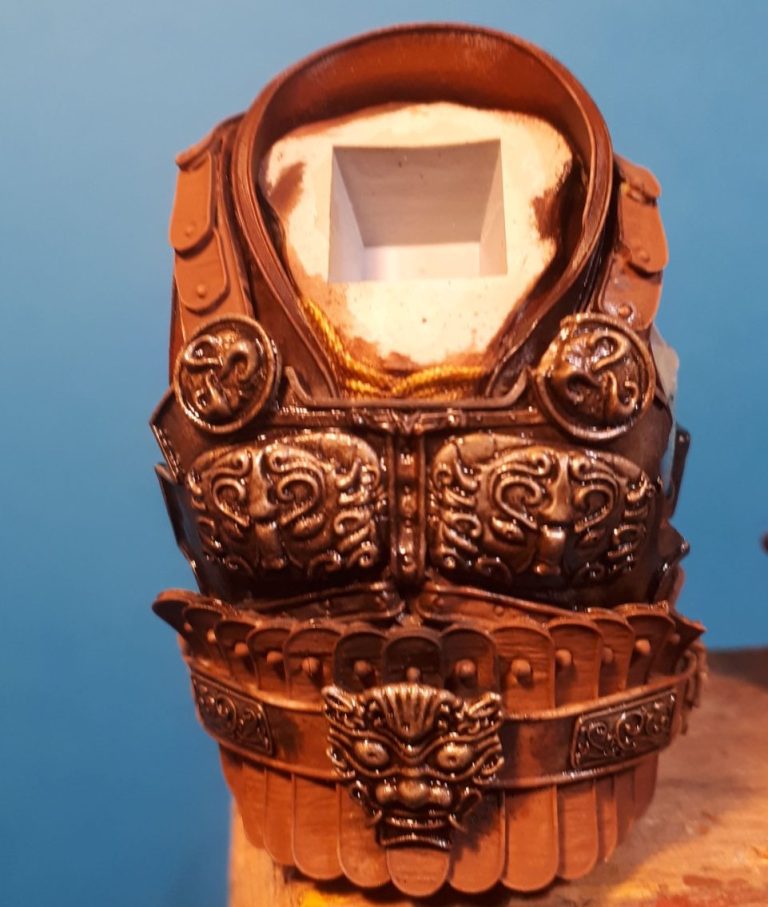
Photos #5 and #6 show the head slotted into the body section. The surface detail on all the parts is very good, and although an expert painter will enjoy taking lots of time refining the colours of each area, I think that even a beginner will manage to make a great job of painting this, as all that detail is going to help them no end.
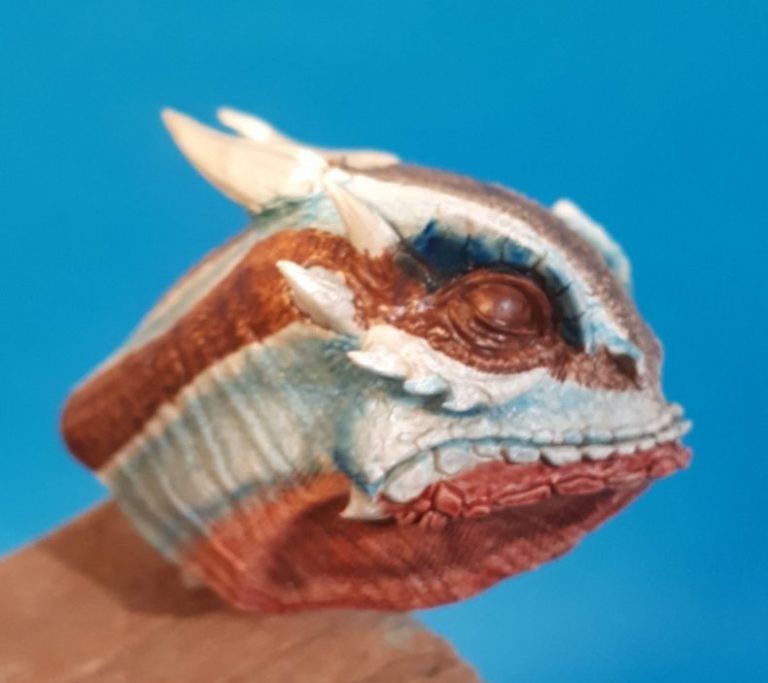
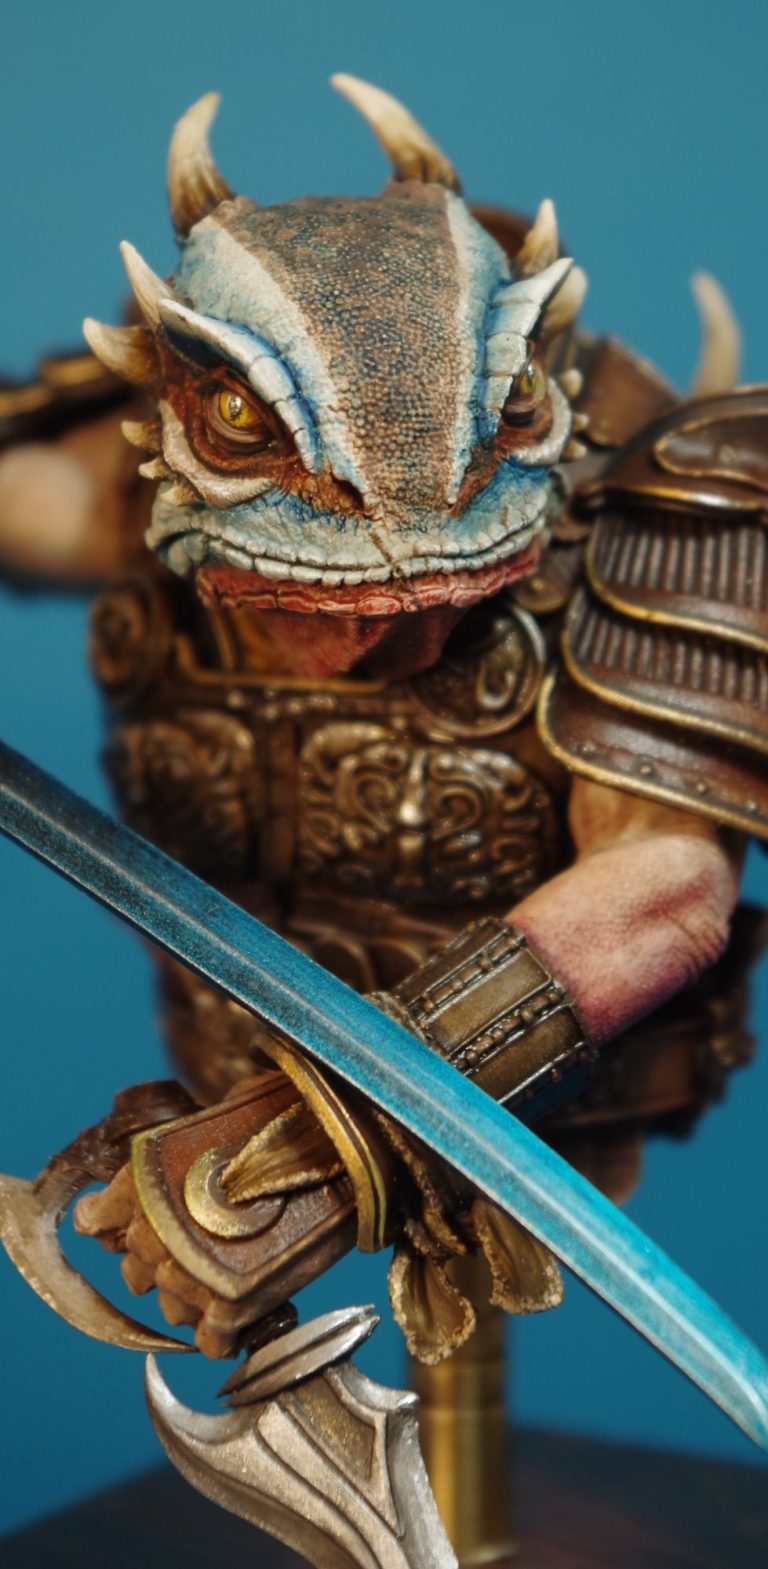
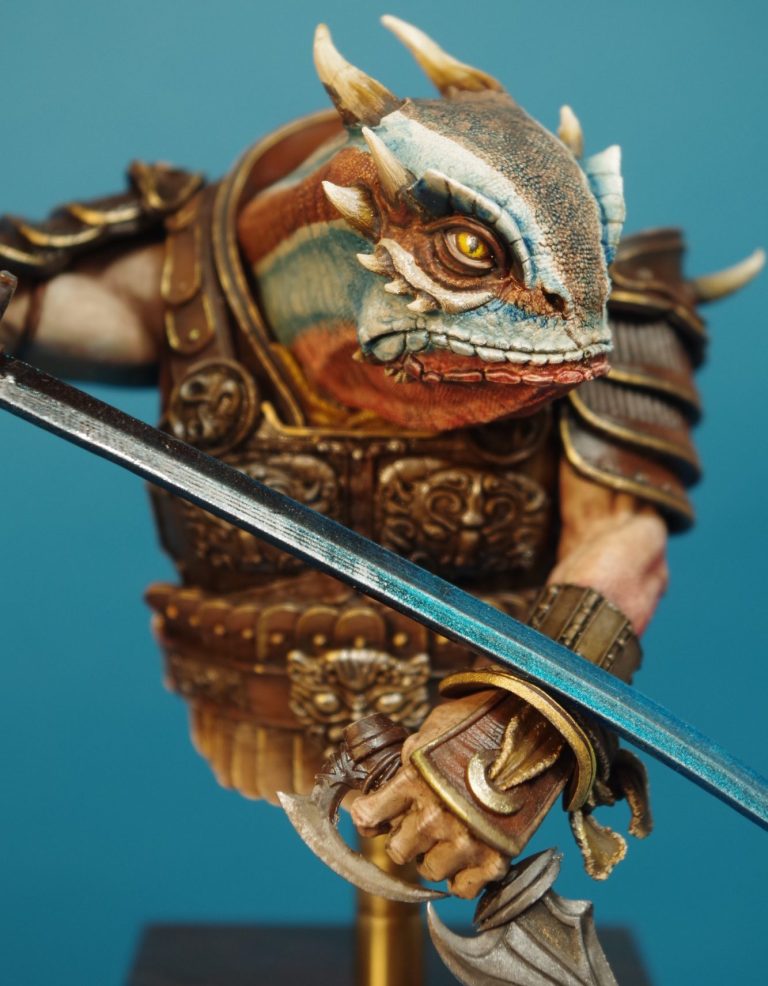
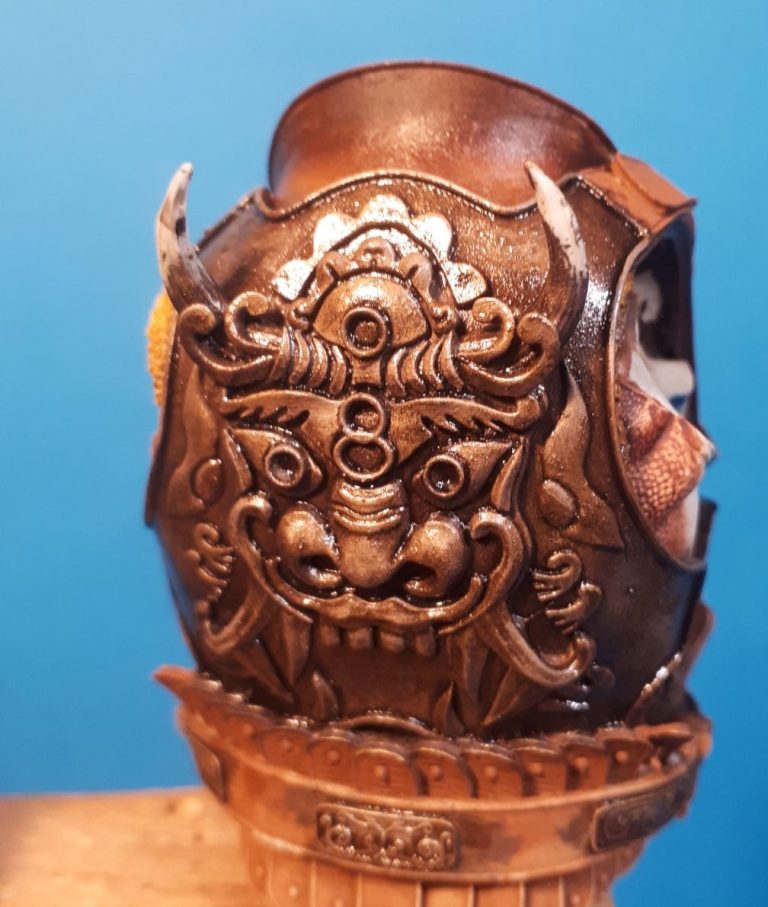
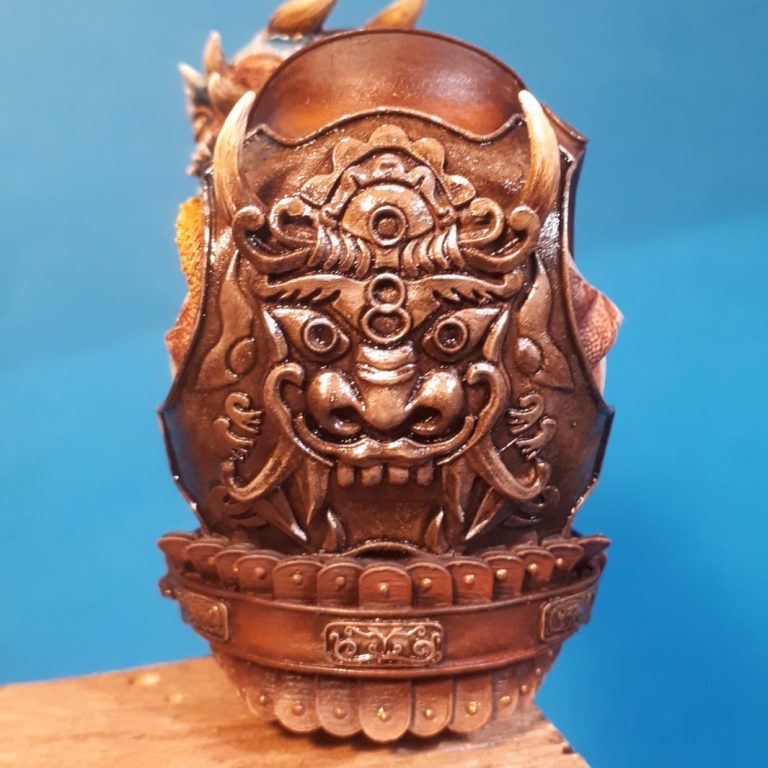
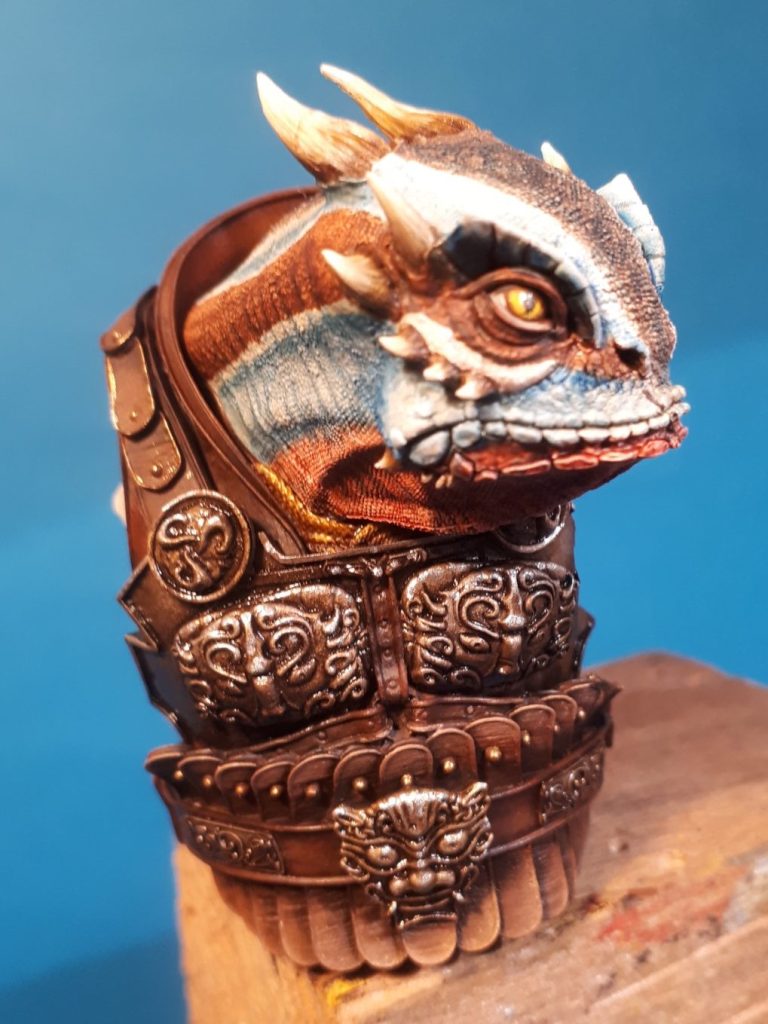
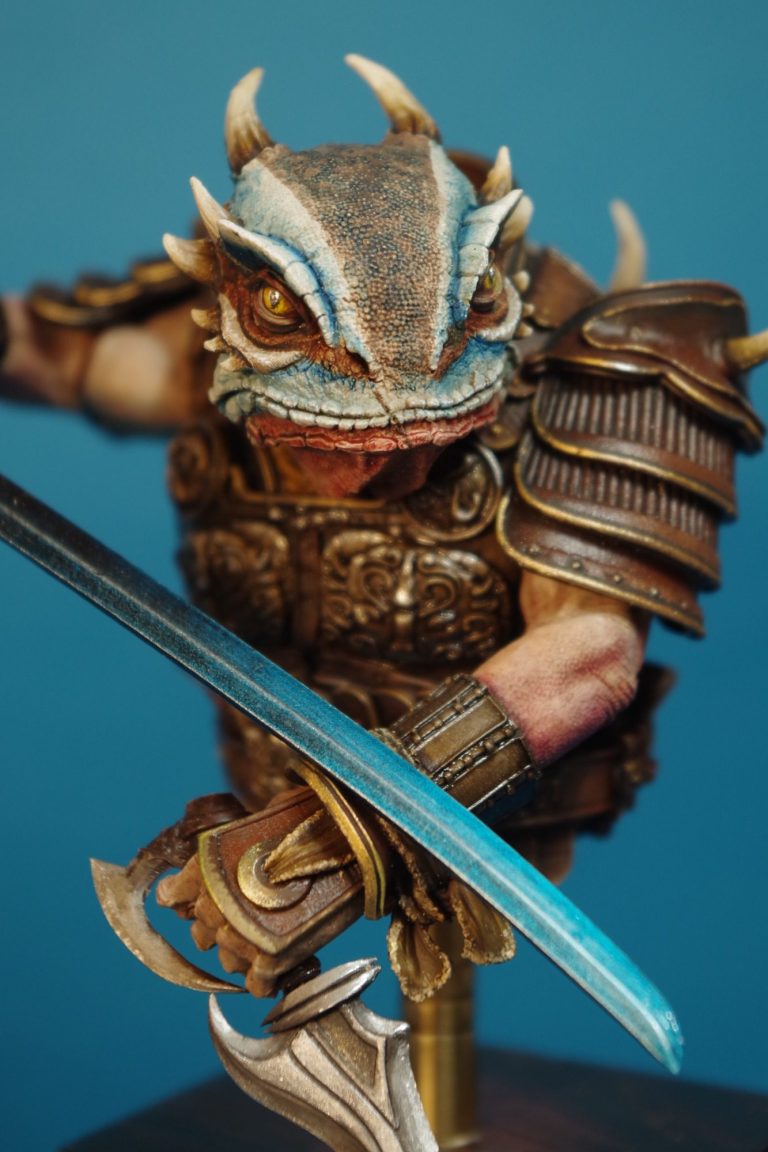
Photos #7, #8 and #9 show the development of the head colouration. The blue areas were washed in first using thin coats of Prussian Blue oils over a primer / undercoat of White acrylic.
The fine skin detail helps the washes perform well, the colours running into the recesses, and then denser paint with less White Spirit thinners added used to darken the colour in lines down the neck.
The brown areas were painted with a Red/Brown acrylic, and then the same method used, adding heavily thinned Burnt Umber oils to pick out the overall detail, then using the brown oil paint almost neat to add darker areas around the eyes and under the chin.
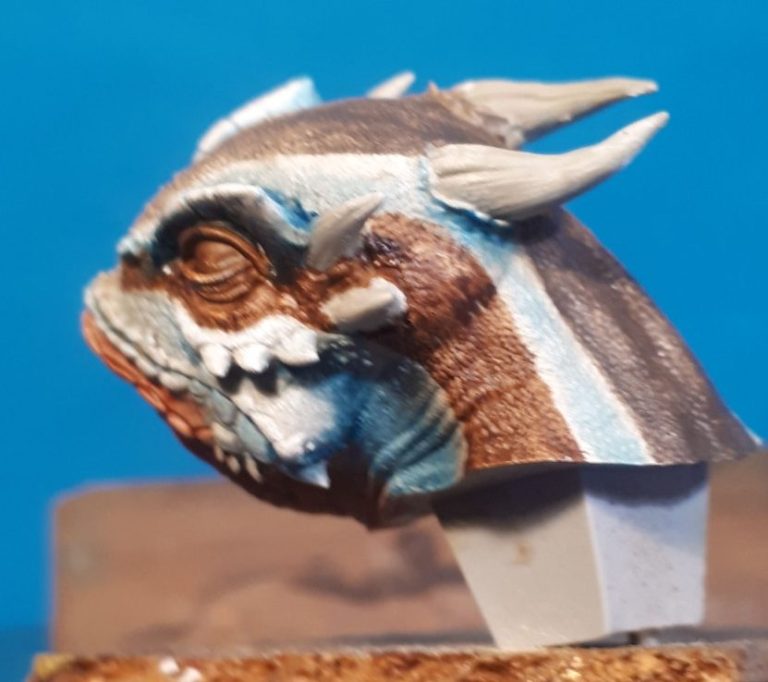
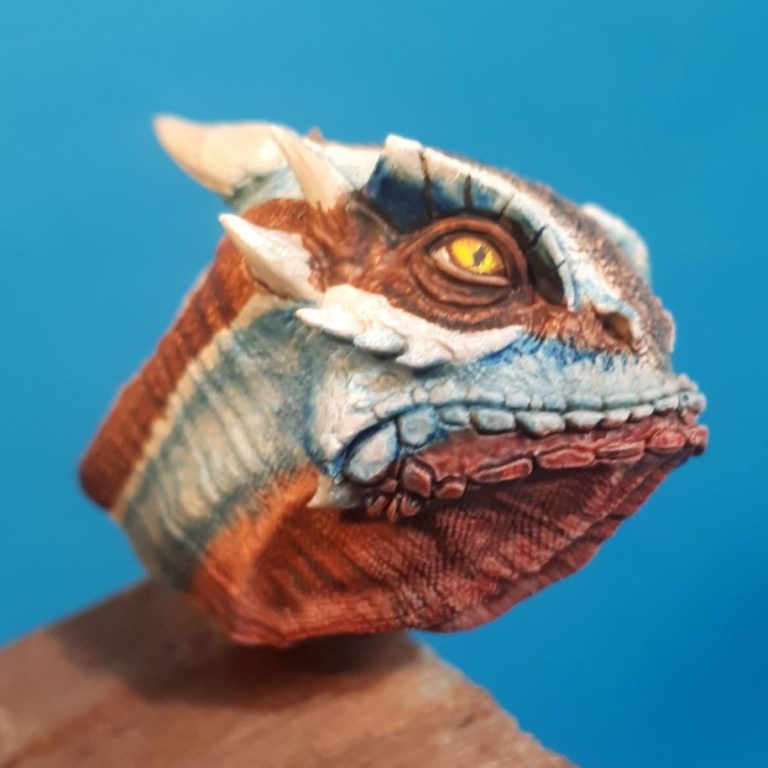
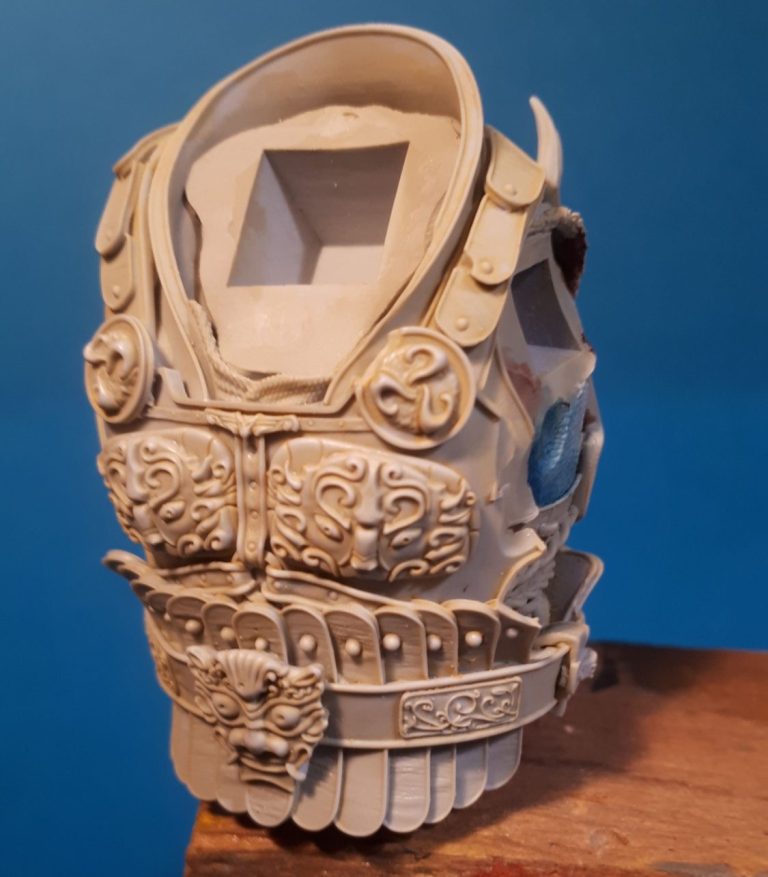
Photo #10 shows the chest section again, the whole part having been primed with white, and the small section of skin that is just visible on the side under where the left arm will slot in, has been painted with the blue colours used on the head.
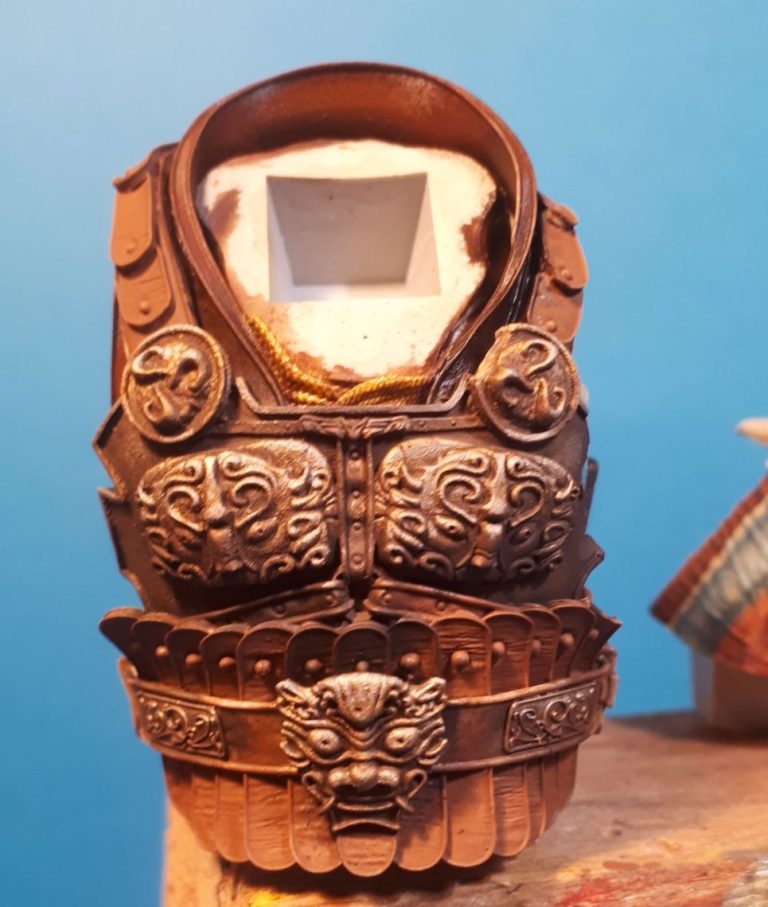
Photos #11 and #12 and I’ve begun the armour. The whole chest was painted with the Red/Brown acrylic, and then coated in Mars Brown oils.
A dark Bronze Printers Ink was gently drybrushed onto the metal sections of armour to pick out the detail, and then some Bright Gold was used to enhance the areas that would be in highlight.

It still looked a bit flat and uninteresting, but in photos #13 and #14 I’ve added a wash of Burnt Umber oils, which really added a lot more depth to the colours.
There’s not much difference in photo #15, although I’ve begun working on the details.
The horns have been painted and some of the gold details brought out with more of the Bright Gold Printer’s Ink.
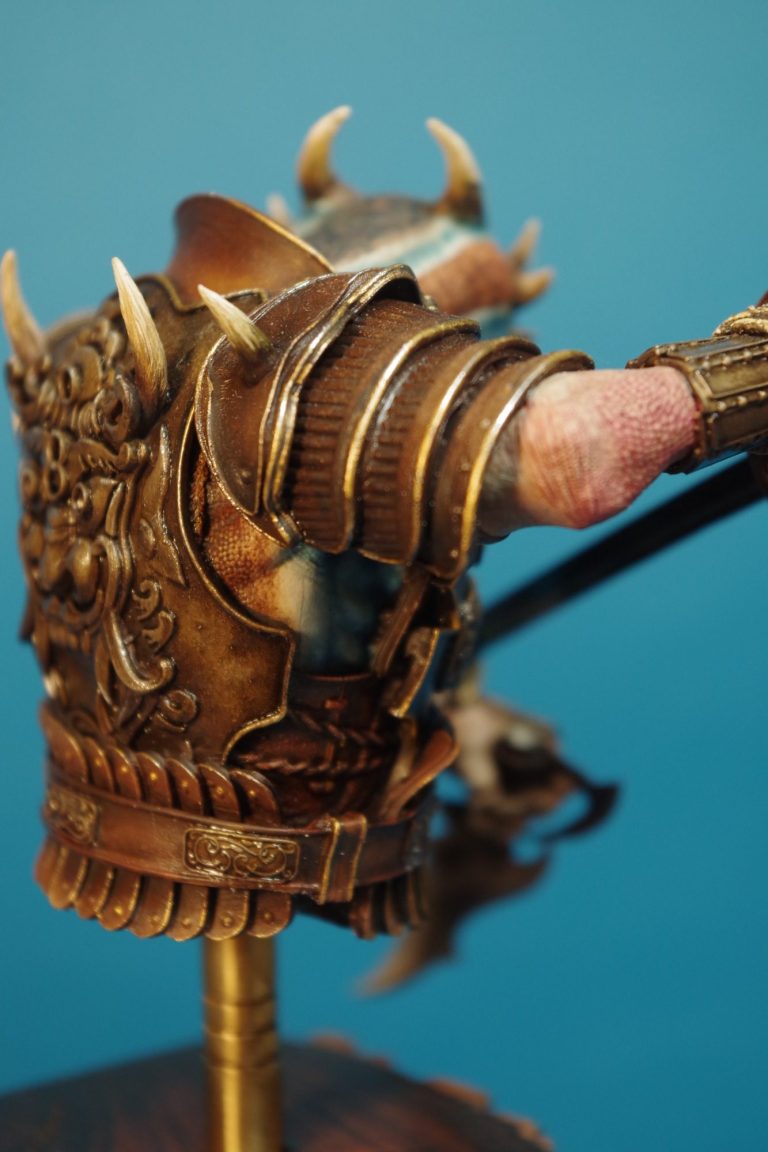
In photo #16 I’ve painted the leather belt has been done – yes there’s a lot of shades of brown on this, but by using dark shadows and bright highlights and altering the colours a little – Burnt Umber, Mars Brown, Light Red, Mars Yellow, Buff Titanium and Titanium White – different mixes, leaving one or more of the colours in that list out make for slight variations that allow the different areas to appear separate whilst having an overall coherence.
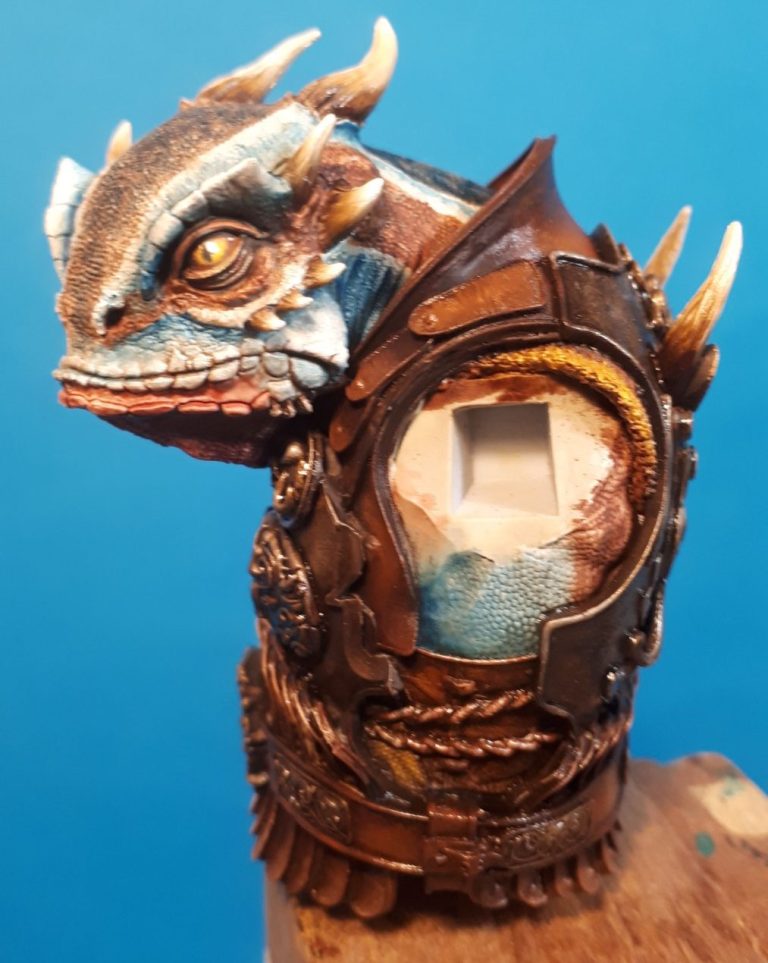
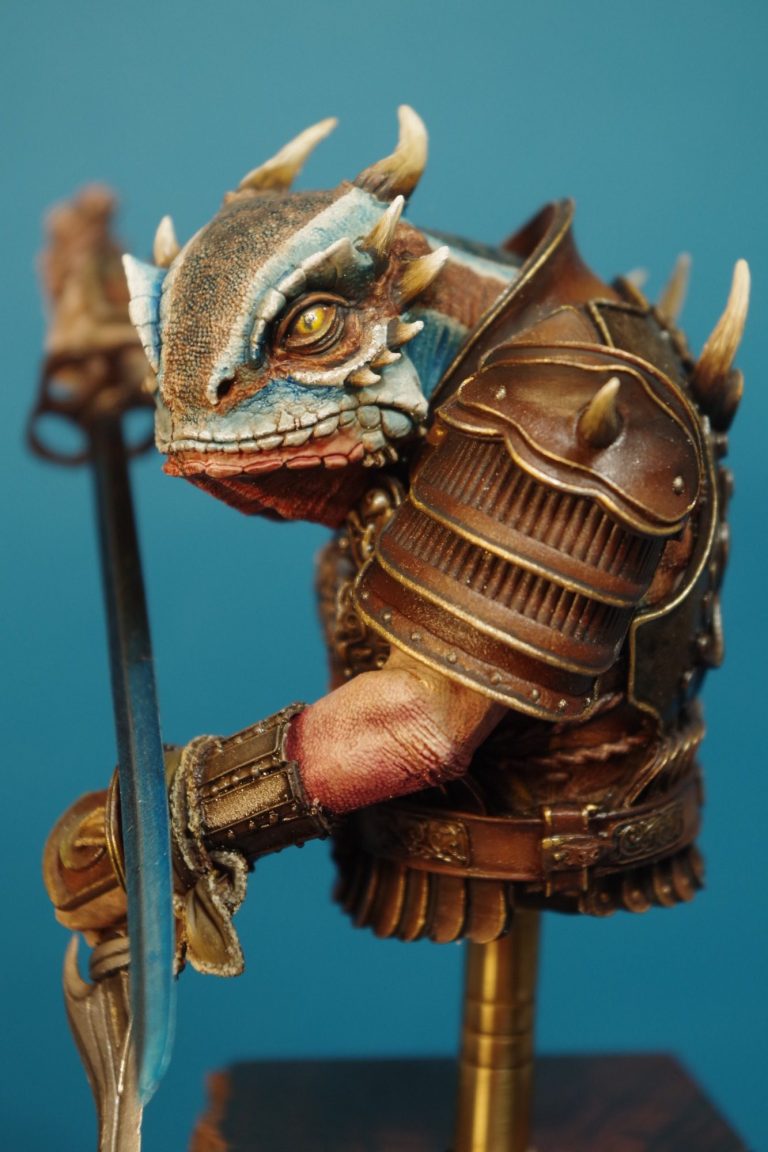
Photo #17 shows a side view of the chest and where I’ve continued the colours from the head and neck down onto the side of the body.
Whilst I’ve not really talked about painting the rest of the bust, it’s really just a continuation of the colours from the head, neck and chest.
The arms were undercoated in a very pale green acrylic prior to the washes of Burnt Umber, and some amount of Titanium White used to highlight the knuckles there he’s gripping the weapons.
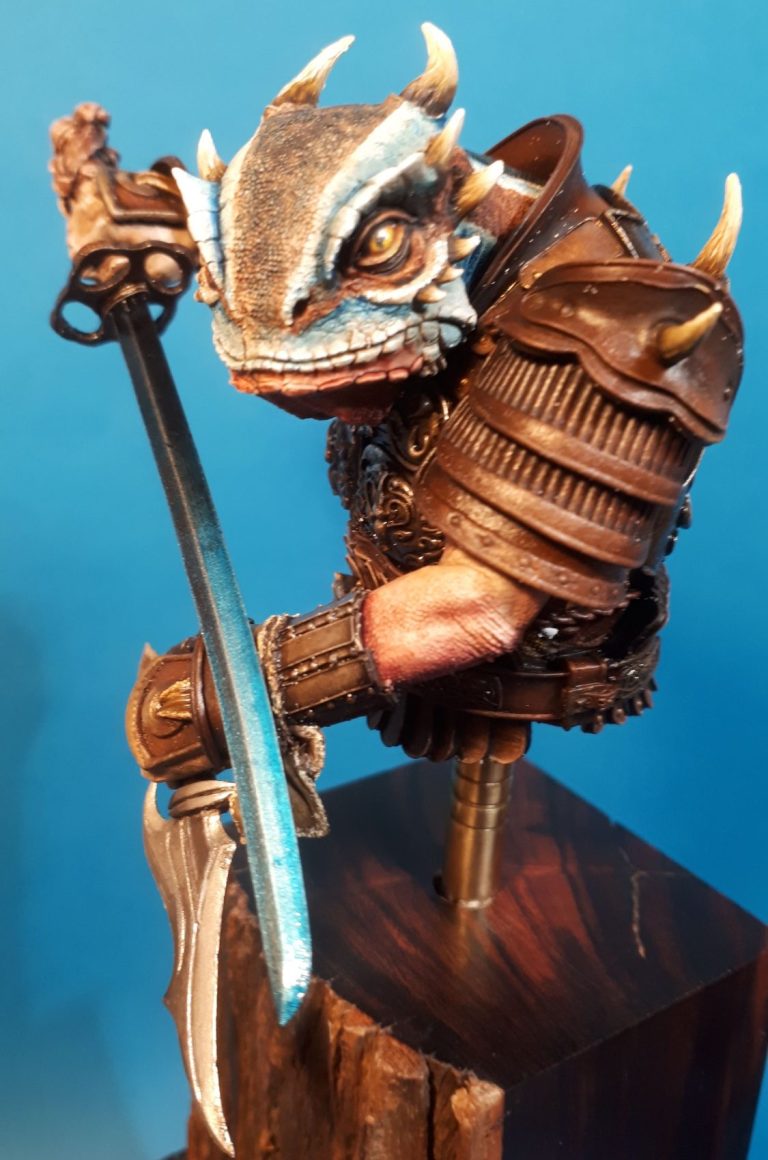
To get the effect on the sword blade I used a very old method of painting the whole blade black, and then spraying the tip and about halfway along it with white acrylic through an airbrush. Once fully dry I then added about twelve coats of Tamiya Clear Blue lacquer, thinning this with an equal amount of water to prevent fresh layers from eating into previously applied ones.
The Clear colour range from Tamiya are really good, but are pigments or dyes suspended in a liquid – possibly Isopropyl Alcohol, or something similarly destructive to paint – that has a tendency to melt previous coats of acrylic or Clear colours. It’s very irritating if you need to apply a second layer to strengthen the colour, and the lacquers are pretty thick if used straight out of the jar. So adding water thins them to a better consistency and seems to combat the “lets eat into and lift that last coat” tendency.
I mentioned fairly near the beginning that fit of parts was good, and this held to be true when I came to assemble the parts for final gluing. There’s no need to add any filler, and sockets are deep enough to negate the need of strengthening pins.
I drilled a hole into the base of the chest to take a section of Brass tube, which in turn was fastened into a nice plinth with a pleasantly rugged front face.
Final thoughts
Of the two busts that I’ve done from this series, this is the one I prefer. It’s slightly bigger too, and I’ve saved one of each for a second try at painting them if I ever get the time.
The female demon looks to be a really good piece too, although I’ve not even taken that out of the box yet ( Bad Adrian ! ), and I have no doubt that the sculpting and fit of parts will be every bit as good.
I’m not sure where 3D Art Digital have gone, there haven’t been any further releases from them that I know of – maybe they made enough from the kickstarter to retire, or maybe they didn’t make enough.
It’s a shame, because the quality of production and the character ideas are really good.
So I can only hope that wherever the team are that made this range possible, might return and put out something just as good in the future.
A further update to this, the company has rebranded and a host of new kits are available at https://legendloom.com
Many thanks to Fet Milner for supplying the update about that.
We need your consent to load the translations
We use a third-party service to translate the website content that may collect data about your activity. Please review the details in the privacy policy and accept the service to view the translations.