Old Ronin Flat Figure
90mm resin flat figure sculpted by Roy Hunt
Painted in 1999

It's All Graham Dixey's Fault !
Sorry, but it had to be said.
“But why ?” you might ask.
Well, simply because it’s true. For several years Graham’s produced a series of articles in Military Modelling magazine on flats, and although I was initially drawn to his use of colour and the theory behind it, the idea of flat figures became something I wanted to have a go at painting. Hence, it’s Mr Dixey and his articles that initially got me interested and inspired in the genre.
Having seen quite a few excellently painted exhibits at shows - too many names of artists to mention - made me even more interested, but what subject to choose ?
This was made harder by the fact that when I asked about subjects I liked, they didn’t seem to be readily available ( Look, I’m inherently lazy ! ). I’d attempted to get along to the annual show hosted for, and by, painters of flat models, but work kept getting in the way.
Then along comes the excellent range by Roy Hunt. Now here was something that just nudged me a bit more than usual to get up and do something.
So I did.
Although Graham has covered the art of flat painting in his articles, I hope you’ll humour me as I’m hopefully going to givethis a different spin simply because I’m not used to this kind of painting.
Read on and you’ll see what I mean.
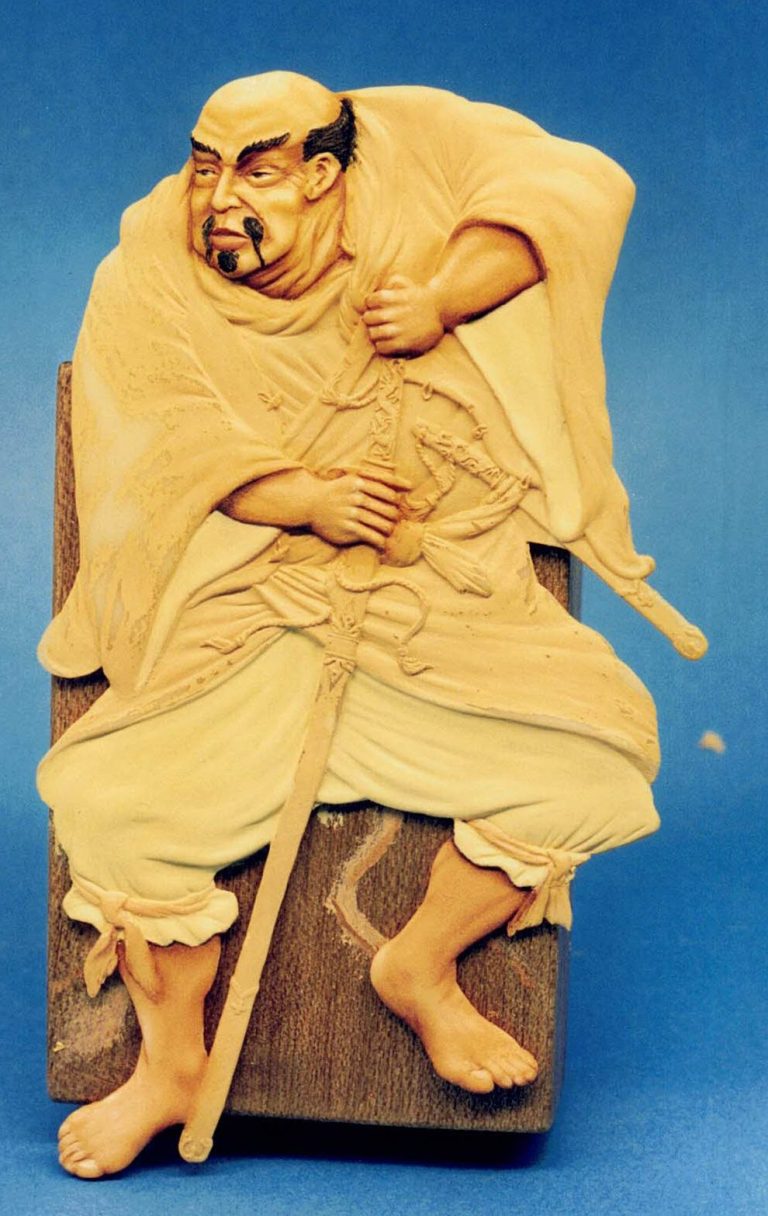
First of all, the model is one piece and cast in resin. It’s about 3mm thick at the most, and in some places you can “see through” the resin if it’s held up to the light. The moulding is very clean, with only a few bits of flash around the edges, these being cleaned up easily by scraping with a scalpel, and finishing off with a small file. See photo 1, the model is about 90mm tall, so you get some idea of how much detail there is in such a small space.


There’s a painting guide and a short history of the period supplied with the model, plus some advice for the novice - I found this very helpful indeed.
After clean-up, the model was primed with a couple of light coats of acrylic paint. I used a sand colour, which wasn’t too different from the colour of the resin.
I began by painting in the flesh tones, This wasn’t too different
From painting a “round” model, but I did find it disconcerting that I kept trying to turn the model round to see it from a different angle - sounds daft, but I found myself doing it a number of times !
What I did like was the chance to really go to town on the use of shadows and highlights. Even after the initial coats of paint had dried, I found myself returning to add heavier shadows or lighter highlights.
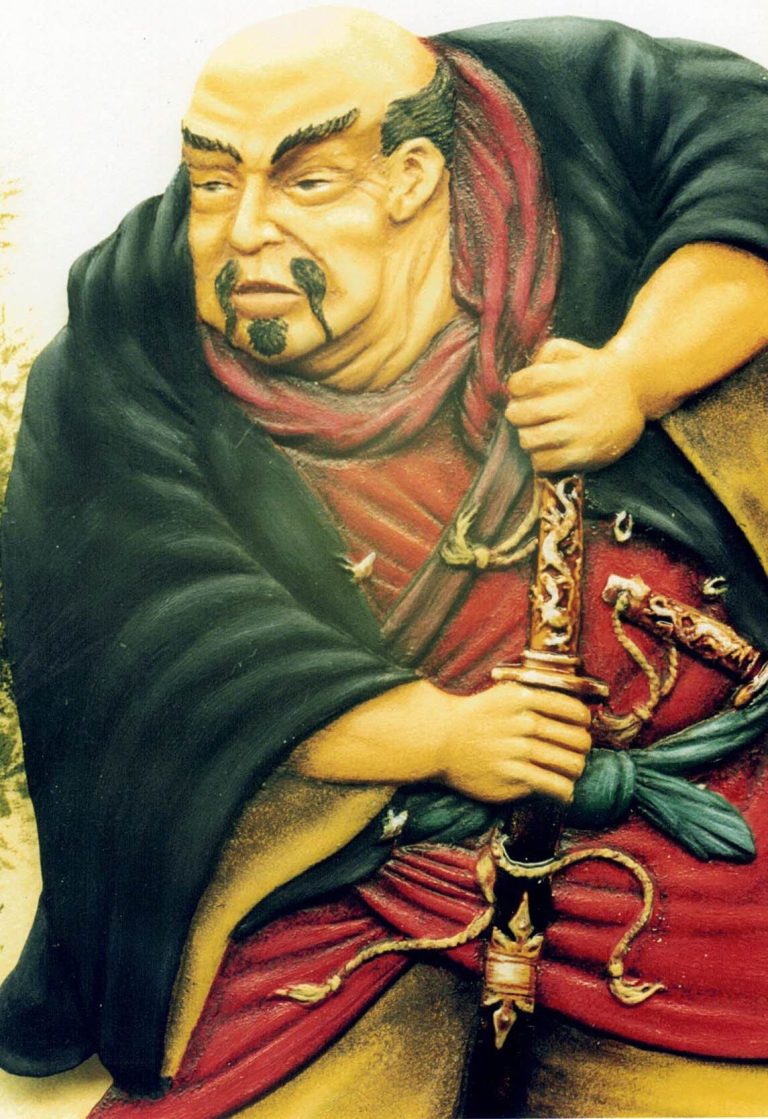
The definition of the sculpting also started to show, with even the toe nails, and wrinkles on the neck, being well represented. Paints used were my usual mix of oils, but I did find myself using a lot more Burnt Umber than I would normally.
One problem I did encounter was that it was very easy to damage the paintwork on the model, mainly because I was tending to rest my hand on it whilst painting another area.
Evidence of this can be seen in photo #2 where the primer / undercoat has been scratched off on the left hand side of the tunic below the belt, and more easily noticed on the right sleeve.
As more areas were finished I had to constantly think of where to rest my hand in order to keep finished areas from being damaged. I suppose it’s lack of practice with this type of model, but it certainly made me think.


Photo #3 shows the tunic undercoated in red, the pants having been finished in Yellow Ochre, Raw Umber and Titanium White oils.
Having been back and re-read a few of Grahams articles, I felt I should have tried adding “cast” shadows.
These are shadows other than the usual ones in folds of material and engraved detail, cast shadows being areas of darker shade caused by some object between them and the light source.
My attempt at this can be seen on the legs, and it isn’t what I’d call successful. I think I need some practice on this aspect of the art.
Photo #4 shows how the scarf has been shaded to a darker colour by adding oil paints. Colours used here were Alizarin Crimson,mixed with Burnt Umber for the shadows, Alizarin Crimson for the mid-tone, and highlights from some of the flesh tone. Again more shadow colour was added once the initial paint had dried.


Photo #5 shows the tunic having been finished, basically using the same colours as on the scarf, but not adding so much of the Burnt Umber to produce the heavy shading.
The jacket has been undercoated in black acrylic, but no shading has been added, that’s just the lighting being really helpful and making it look like I’ve done lots of hard work !
Photo #6 shows the jacket finished. Hopefully this looks a richer black. This was produced by painting on a very thin layer of Ivory Black, and then adding some slight highlights of the flesh colour.
This picture also shows the belt and the ties around the cuffs of the pants. These were painted in acrylics, using several washes of gradually lighter colours to produce the highlighting.
The metalwork on the sword ( Katana ) and dagger ( Wakisashi ) have also been done. I found this one of the hardest parts of the model to paint, simply because I wanted to use non-metallic colours. I don’t think I’ve succeeded too well at getting the “look” of metal, but it’s got me hooked enough to have a go at it again when I do another. It was very tempting to break out the gold metallic though !
What I did use was sand coloured acrylic for the base colour, white for the highlight, and dark brown ink ( Rotring ) for the shadows.
Finally the toggles and loops on the jacket were done, as too were the cords and tassels on the sword and dagger. These again being painted in acrylics.


The black lacquer on the scabbards was done by painting on a black acrylic, and once dry stippling on some gold enamels ( knew I’d get to use some metallic somewhere ! ) This was then given several coats of varnish tinted with Burnt Umber oil paint. The gold flecks reflect the light very nicely, although it doesn’t show up in the photos.
How I’d have done this using non-metallic paints I have no idea, so cheating was the only option I’m afraid.
Now for the fun of displaying it.
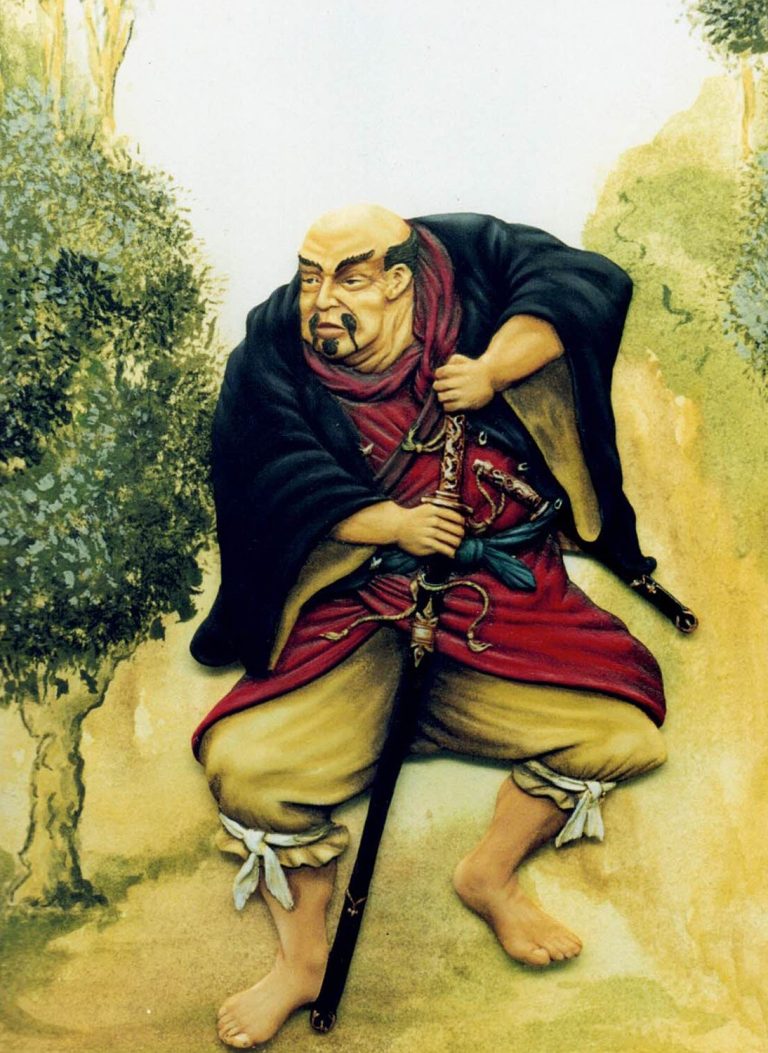
I decided initially to place the finished piece in a photo frame with a simple, single colour backing, in this case an emerald green. It worked O.K. but then I remembered the scenic backdrops that I’d seen on some flats at shows, and thought I’d have a go at one of those.
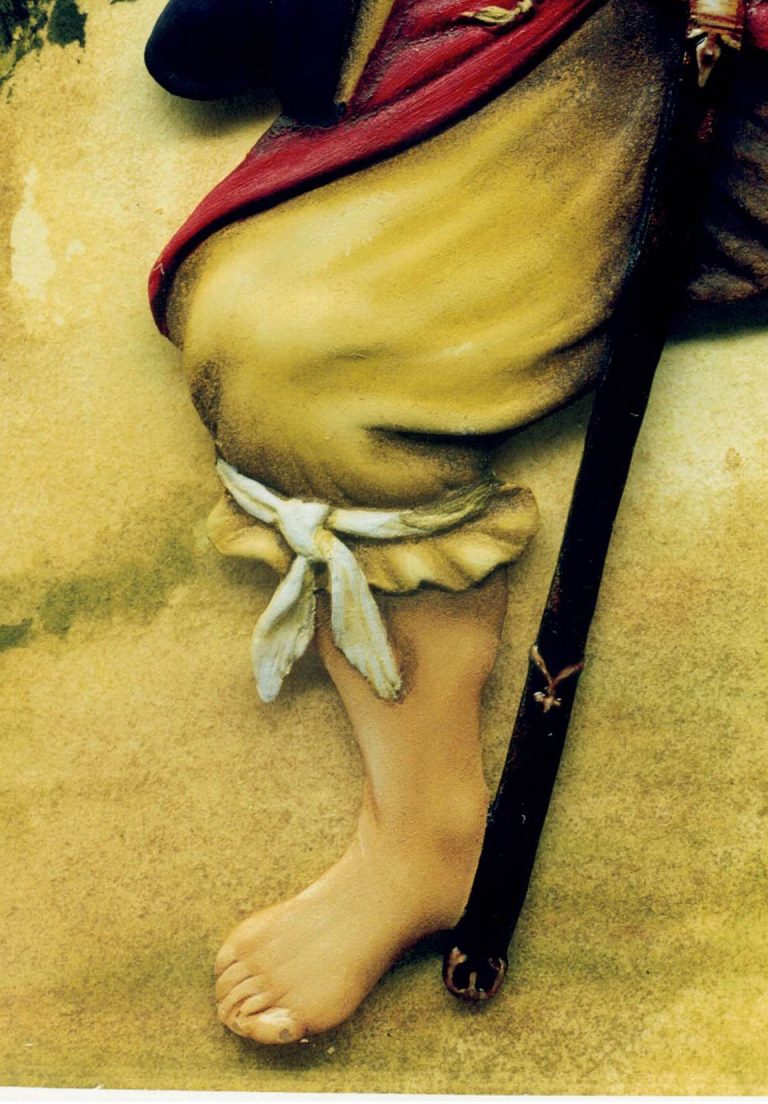
First off though, a warning. I found that putting the flat in a photo frame damaged the paint on the high points of the model. These being the knuckles, toe and some parts of the tunic. This is evident on the close up-shot of the right foot, where the paint has been damaged on the big toe.

The remedy for this is simple enough, either don’t have the glass in the frame, or put a couple of thicknesses of picture mounting board into the frame to keep the flat away from the glass.
Anyway on to the picture background. This was painted on paper bought from an art shop. The paints I used were simply acrylics that I’d normally use for models, watered down heavily to act like watercolours.
I used as inspiration a book of Japanese Colour Prints from Phaidon books and written by J Hillier. This book has many interesting pictures in it of Japanese art from the past four or five centuries. Not only is the book good for background artwork, it’s also good to have for possible colour schemes for models.
My thanks to Roy Hunt for supplying the model as a review sample, and also to Graham Dixey for the inspiration and method ideas he’s supplied in his many painting articles - I hope Grahams not too “put out” by the title !
Unfortunately Roy Hunt passed away a number of years ago, however his flat figure range is still available from Ebay seller ash0040 for around £7 plus postage, the whole of the cost of the figure being sent to his widow Pat.
Japanese Colour Prints by J Hillier available from Waterstones
ISBN0 7148 2721 5 Price approximately £12.00
Please note, all the Roy Hunt Flat figures are available from seller ash0040 on eBay. The whole of any sale of these flats goes to Pat Hunt - Roy's widow - excluding the cost of postage.
The series of flats are:-
Female Samurai
Old Ronin
Action at Dennewitz
Chief Joseph and the retreat of the Nez Perce
Tamerlane
Pantaloon
Or simply type in "Roy Hunt Flat" on eBay and that should bring the range up.
We need your consent to load the translations
We use a third-party service to translate the website content that may collect data about your activity. Please review the details in the privacy policy and accept the service to view the translations.